> For the complete documentation index, see [llms.txt](https://knowledgebase.autorabit.com/llms.txt). Markdown versions of documentation pages are available by appending `.md` to page URLs; this page is available as [Markdown](https://knowledgebase.autorabit.com/product-guides/arm/registration/salesforce-org.md).
# Registering Your Salesforce Org
You must register the organization to use any Salesforce Org functionality inside ARM. When you register your Salesforce organization in ARM, ARM connects to your organization with the required permissions
### Adding a Salesforce Org connection via OAuth
1. Log in to your ARM account.
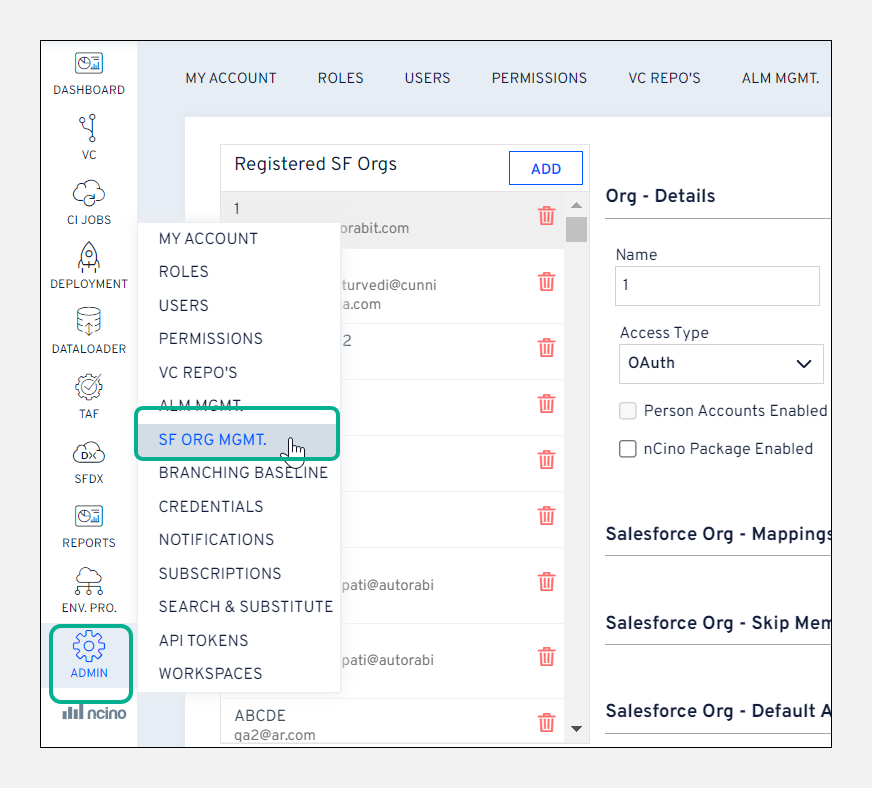
2. Go to the **`Admin > SF Org Mgmt.`** page.
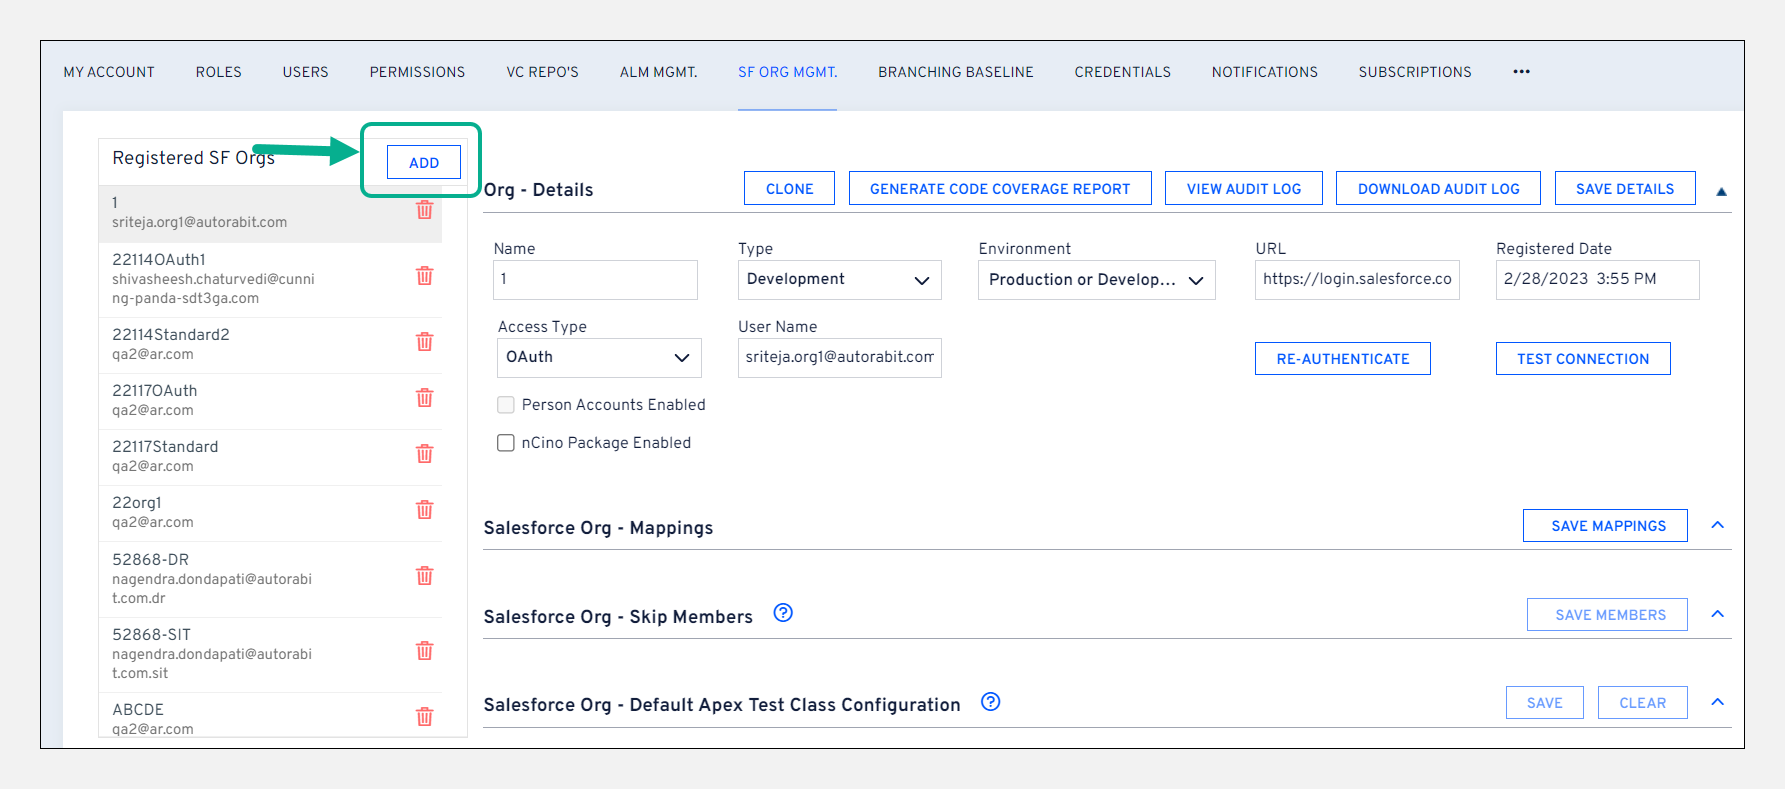
3. From the **`SF Org Mgmt.`** screen, click on the **`Add`** button.
4. Enter the **`Salesforce Org Name`**.
5. Select the **`Salesforce Org Type`** from the drop-down (*Developer*, *Integration*, *QA*, *UAT*, *Production*).
6. Select the **`Environment`** from the drop-down (*Production or Development Edition*, *Sandbox*, *Pre-Release*, *Custom URL*).
7. **`Salesforce Org URL`** is predefined based on the Environment selected.
8. Select **`Access type`** as **`OAuth`** as the authentication method.
9. Click **`Validate & Save`** to proceed through the OAuth flow and allow ARM to connect to your Salesforce Org.
10. Click **`Allow`** when prompted to grant ARM access to the Salesforce Org.
11. The org will now be added to your list of saved connections. It will appear in the list of available orgs via the dropdown for future comparisons and automation jobs.
Important Note:If your Salesforce Org is configured with nCino objects, you can select the **`Is nCino Installed`** checkbox. The nCino logo is added for each nCino configured Salesforce Org for easier identification from other Salesforce Org.
### Connecting to a Salesforce Org using username/password
1. Go to the **`Admin > SF Org Mgmt.`** page.
2. From the **`SF Org Mgmt.`** screen, click on the **`Add`** button.
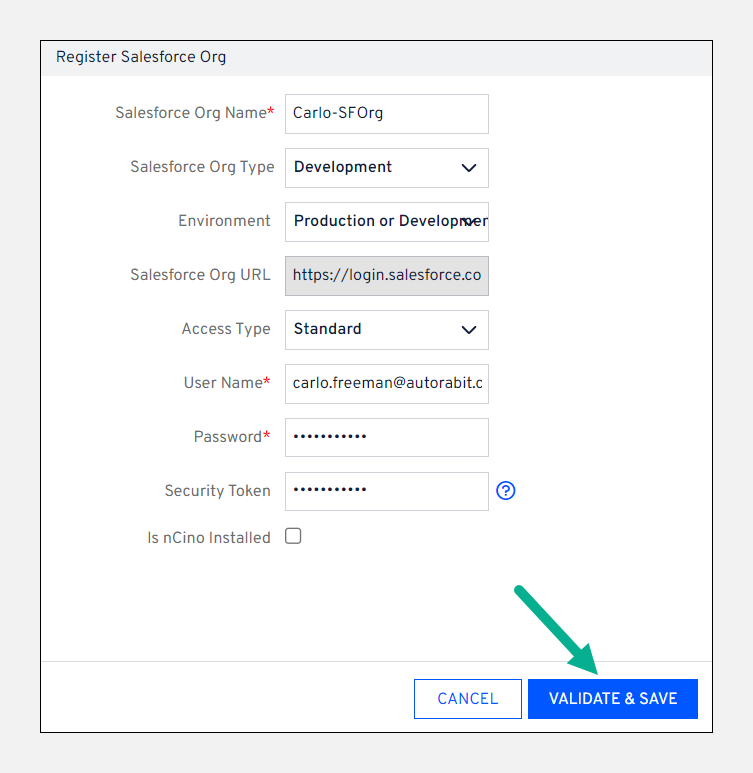
3. Enter the **`Salesforce Org Name`**.
4. Select the **`Salesforce Org Type`** from the drop-down (*Developer*, *Integration*, *QA*, *UAT*, *Production*).
5. Select the **`Environment`** from the drop-down (*Production or Development Edition*, *Sandbox*, *Pre-Release*, *Custom URL*).
6. Select **`Access Type`** as **`Standard`** as the authentication method.
7. Enter the **`User Name`** and **`Password`**.
8. Enter the **`Security Token`**
9. Click **`Validate & Save`** to proceed through the OAuth flow and allow ARM to connect to your Salesforce Org.
Important Note: If your Salesforce Org is configured with nCino objects, you can select the **`Is nCino Installed`** checkbox. The nCino logo is added for each nCino configured Salesforce Org for easier identification from other Salesforce Org.
### What is Salesforce Security Token, and How Do I Find It?
Your Salesforce security token is a case-sensitive alphanumeric key used with a password to access Salesforce via API. The token aims to improve the security between Salesforce users and Salesforce.com in the case of a compromised account. It ensures, among other things, that if a user’s account credentials are compromised, a third party cannot access Salesforce.
### Losing the security token
If you can’t remember your security token and have deleted the email containing the token, the only way to retrieve it is by resetting the token. Salesforce does not provide an option to view your token within the web application; the only option is resetting it.
### Getting the Security Token for Your Salesforce Account
When you create a Salesforce account, Salesforce sends an email message from with the subject: *salesforce.com security token confirmation* to the email address associated with the account. This email message contains the Security Token for the account and is the only place where you can find the Security Token value. When you change the account password, the security token is regenerated (the previous one expires), and a similar email is sent.
To get the security token for your Salesforce account, In the mailbox for the email address associated with the Salesforce account, look for the latest email message received from ** with the subject: *salesforce.com security token confirmation*.
If you cannot find the latest email with the security token, reset the security token:
1. Log in to Salesforce using the Salesforce account.
2. In the User Menu, select **`Setup`**.
3. In the menu on the left, under **`Personal Setup`**, expand **`My Personal Information`**, then click **`Reset My Security Token`**. Follow the instructions on the screen.
4. A new email message will be sent.
5. Open the message and then copy the **`Security Token value`**.
Important Note: We recommend saving this email in a secure location, so you don’t have to reset your security token whenever needed.
### Editing Salesforce Org Details after Registration
You can change the **`Environment`** type, the **`Access Type`**, or both.
1. From the screen, choose the desired environment and access types from the respective dropdown fields.
2. To edit the **`User Name`**, ensure that the **`Access type`** is set as **`Standard`**.
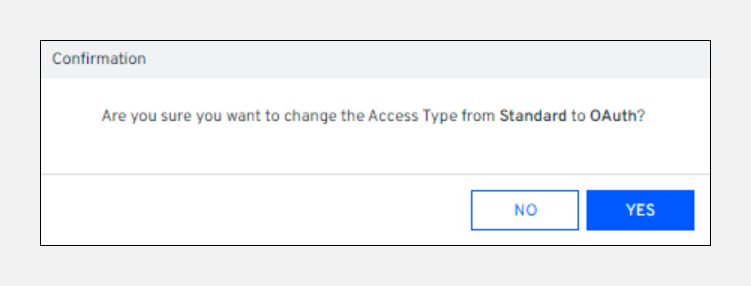
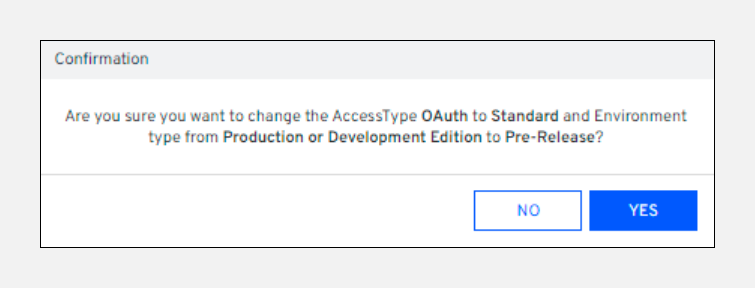
3. Click **`Save Details`** or **`Test Connection`**, and you will see one of the following confirmation messages:
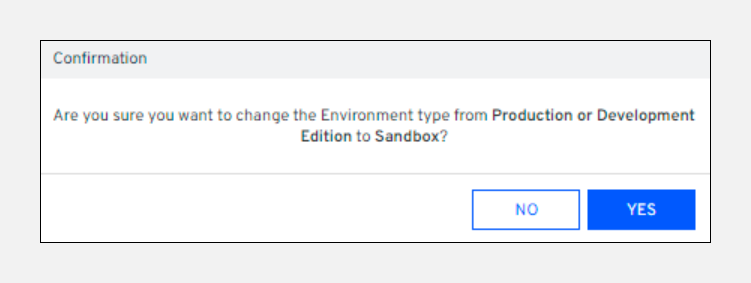
* If you change the **`Environment`** type:
* If you change the **`Access Type`**:
* If you change the **`Environment`** type and also the **`Access Type`**:
4. Click **`Yes`** to complete the request. Click **`No`** to close the confirmation message without changing the details.
---
# Agent Instructions
This documentation is published with GitBook. GitBook is the documentation platform designed so that both humans and AI agents can read, navigate, and reason over technical content effectively. Learn more at gitbook.com.
## Querying This Documentation
If you need additional information that is not directly available in this page, you can query the documentation dynamically by asking a question.
Perform an HTTP GET request on the current page URL with the `ask` query parameter, and the optional `goal` query parameter:
```
GET https://knowledgebase.autorabit.com/product-guides/arm/registration/salesforce-org.md?ask=&goal=
```
`ask` is the immediate question: it should be specific, self-contained, and written in natural language.
`goal` is optional and describes the broader end goal you are ultimately trying to accomplish on behalf of the user. GitBook uses it to tailor the answer towards what is most useful for that goal.
The response will contain a direct answer to the question and relevant excerpts and sources from the documentation.
Use this mechanism when the answer is not explicitly present in the current page, you need clarification or additional context, or you want to retrieve related documentation sections.