> For the complete documentation index, see [llms.txt](https://knowledgebase.autorabit.com/llms.txt). Markdown versions of documentation pages are available by appending `.md` to page URLs; this page is available as [Markdown](https://knowledgebase.autorabit.com/product-guides/vault/vault-features/token-management.md).
# Token Management
## **Token Management User Guide**
Creating, monitoring, revoking, and deleting API tokens
## Token Management
Token Management provides a centralized place to generate and maintain API tokens for **AutoRABIT Vault.** Tokens are used for API-based access and can be tracked through their status, expiry, usage details, and available actions.
| **Important:** Generated tokens are displayed only once. The token must be copied and stored securely when it is generated because it cannot be retrieved later. |
| ---------------------------------------------------------------------------------------------------------------------------------------------------------------- |
### Accessing Token Management
Token Management is opened from the profile menu in the application header. The profile menu includes options such as Profile, Token Management, Change Password, and Logout. Selecting Token Management opens the token list page.
### Token Management List
The Token Management page displays all generated tokens in a tabular view. When no tokens are available, the table remains empty while the Generate Token action remains available.
* Label Name identifies the token.
* User displays the account associated with the token.
* Status shows whether the token is Active, Revoked, Expired, or Expiring Soon.
* Created Date and Expiry Date show the token lifecycle window.
* Last Used, Last Used In, and IP Address show usage details when available.
* Actions shows the operations available for the token based on its current status.
### Generating a Token
A new token is created by selecting Generate Token. The Generate New Token dialog captures the token label and expiry period. Both Label Name and Expiry are required fields.
The Label Name identifies the token in the Token Management list. The Expiry field defines the validity period for the token. Available expiry options include 30 Days, 90 Days, and 1 Year.
After the label name and expiry period are provided, Generate Token creates the token and displays it in the Token Generated dialog.
### Copying and Storing the Generated Token
After the token is generated, AutoRABIT Vault displays a security warning stating that the token is shown only once and cannot be retrieved later. The generated token is displayed with controls to reveal or hide the value and copy it to the clipboard.
Selecting the copy option copies the token to the clipboard and displays a confirmation message. The token should be stored in a secure location before closing the dialog.
### Reviewing a Generated Token
After the dialog is closed, the token appears in the Token Management list. An active token is shown with the Active status. Newly created tokens may show Last Used as blank or Never Used until the token is used for API access.
Selecting the token label opens the token event view. If no usage or activity has been recorded, the Token Events dialog displays that no events are recorded for the token.
### Revoking a Token
An active token can be revoked from the Actions column. Revoking a token immediately prevents the token from being used for future API requests. Existing running jobs are not impacted by the revocation action.
The Revoke Token confirmation dialog explains the impact of revocation and requires confirmation before the action is completed. Selecting Revoke Token revokes the active token.
After revocation is completed, AutoRABIT Vault displays a success confirmation. The token status changes to Revoked, and the available action changes from Revoke to Delete.
### Deleting a Token
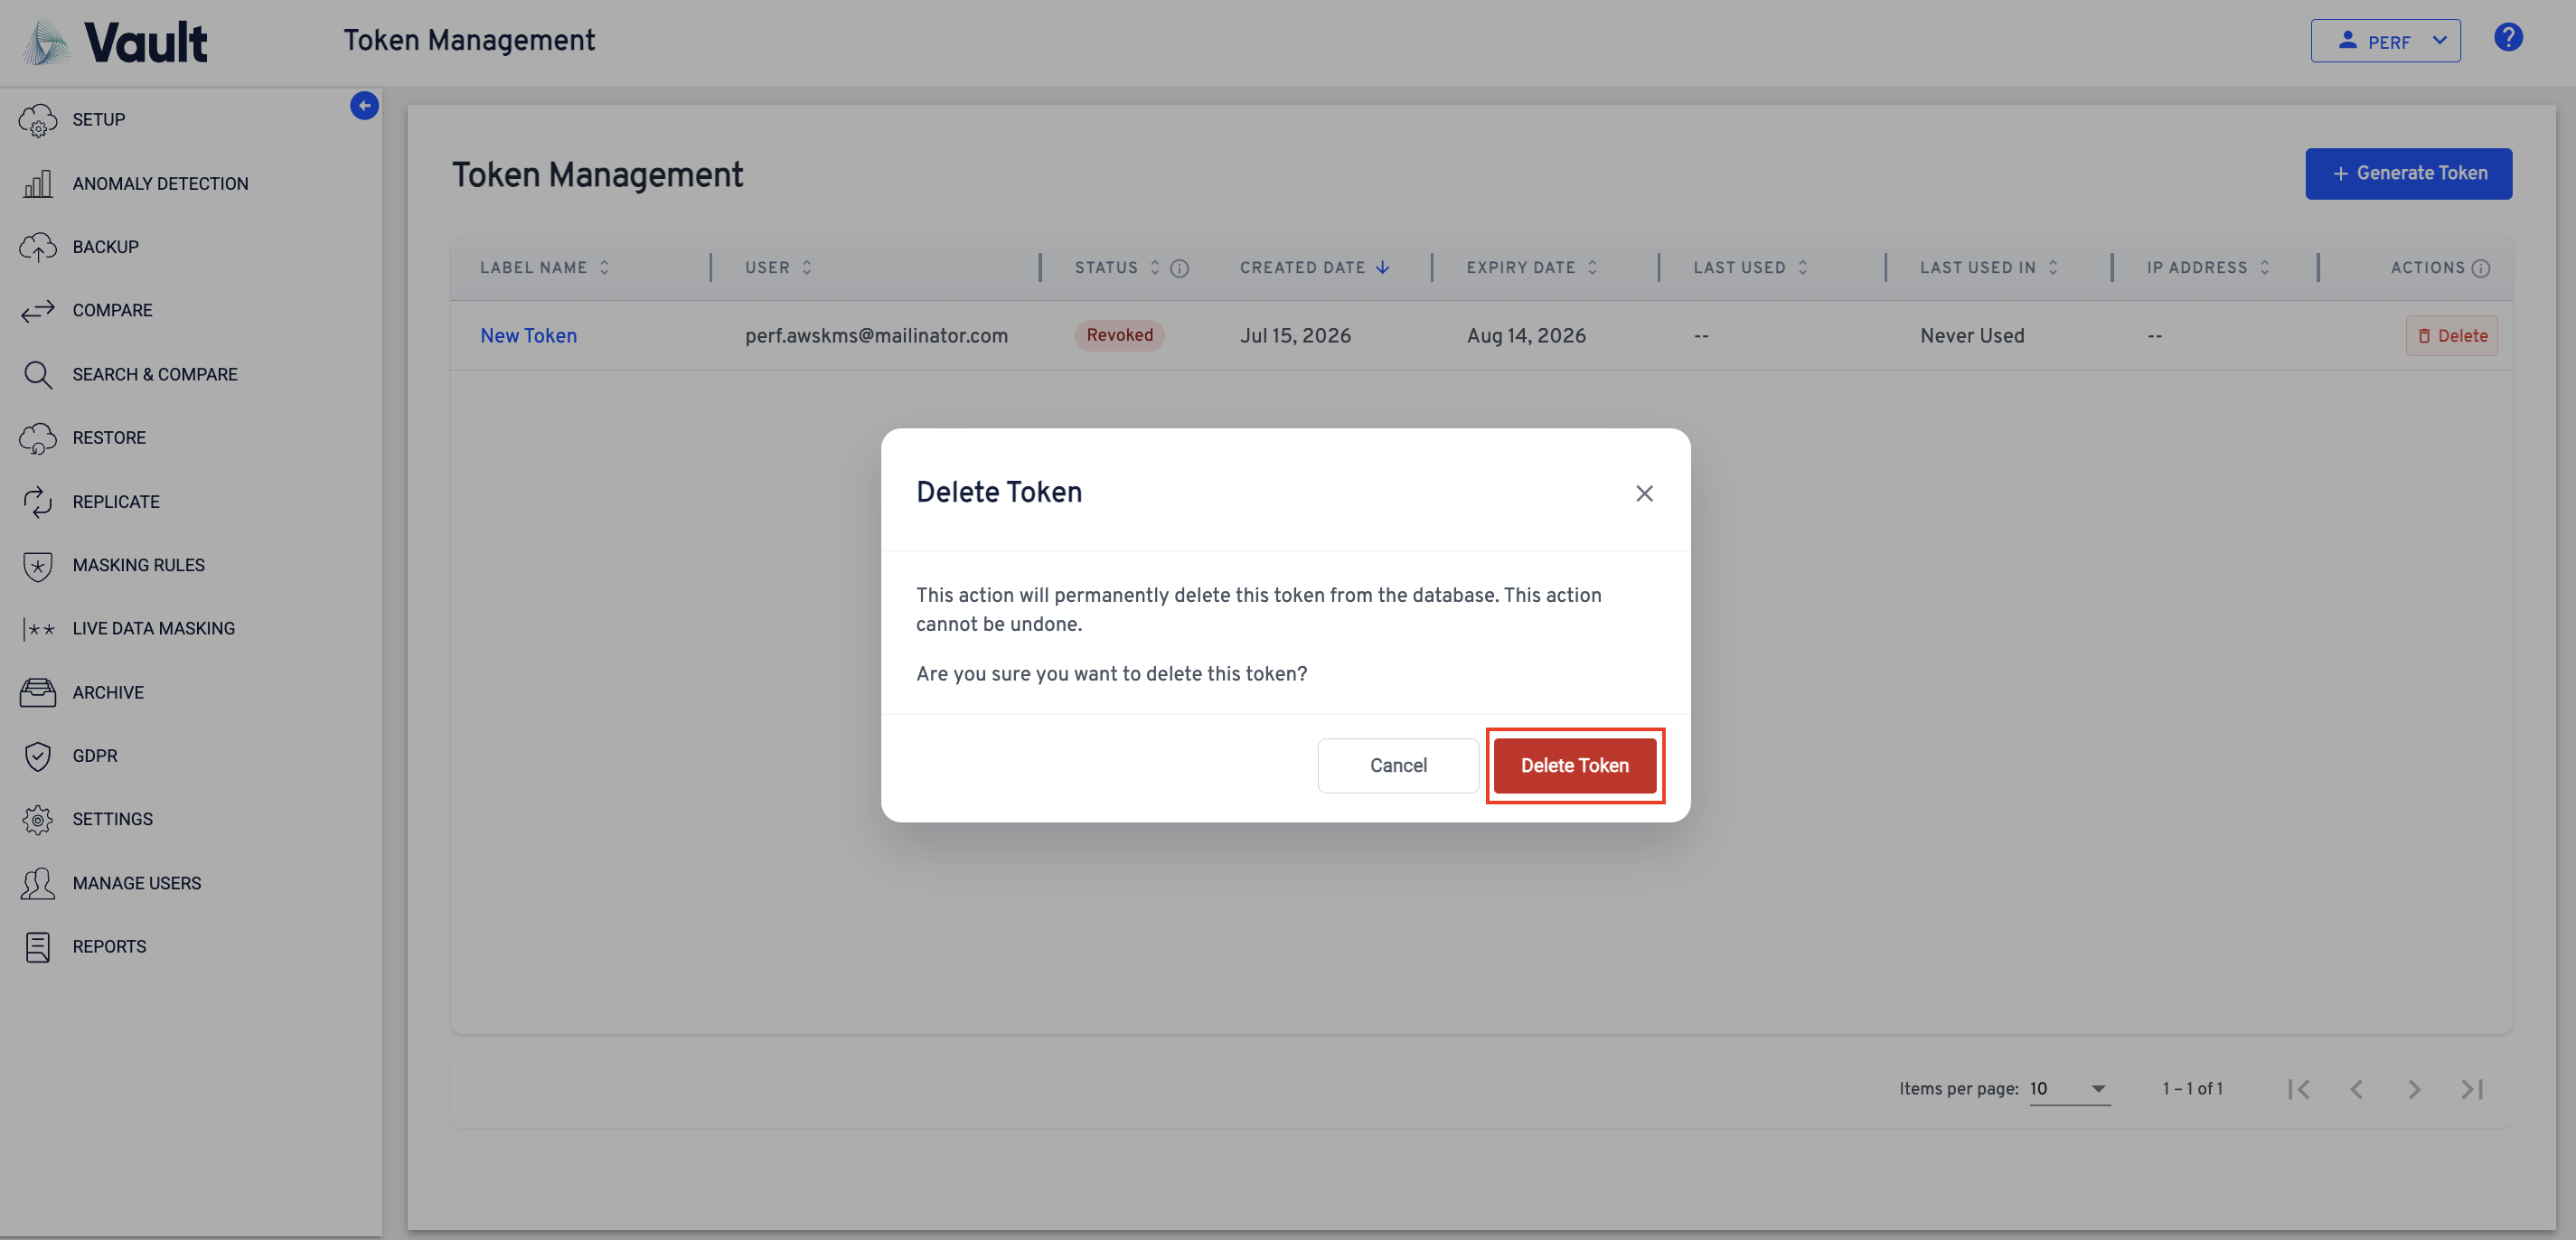
A revoked token can be deleted from the Actions column. Deleting a token permanently removes it from the database and cannot be undone.
After the delete action is confirmed, AutoRABIT Vault displays a success message confirming that the token has been deleted successfully.
### Understanding Status and Action Help
The information icon in the Actions column explains the difference between revoke and delete operations. Revoke immediately deactivates an active token and prevents future use. Delete permanently removes a token from the system and is available only for revoked or expired tokens. The token must be revoked before it can be deleted.
The information icon in the Status column explains token status values. Active indicates that the token is valid and can be used. Revoked indicates that the token has been manually revoked. Expired indicates that the token has passed its expiry date. Expiring Soon indicates that the token expires within two days.
### Result
At the end of this workflow, the token is either available as an active API token, revoked to prevent further use, or deleted after revocation. Token Management keeps the token lifecycle visible through status, expiry, usage, and action controls.
---
# Agent Instructions
This documentation is published with GitBook. GitBook is the documentation platform designed so that both humans and AI agents can read, navigate, and reason over technical content effectively. Learn more at gitbook.com.
## Querying This Documentation
If you need additional information that is not directly available in this page, you can query the documentation by asking a question.
Perform an HTTP GET request on the following URL with the `ask` and `goal` query parameters:
```
GET https://knowledgebase.autorabit.com/product-guides/vault/vault-features/token-management.md?ask=&goal=
```
`ask` is the immediate question: it should be specific, self-contained, and written in natural language.
`goal` is what the user is ultimately trying to achieve, the reason they need the answer. Sharing it helps GitBook give you a better, more relevant answer. A goal is most helpful when it describes the outcome the user wants rather than restating the question. For example, with `ask=how do I create an API token`, a goal like `automate deployments from our CI pipeline` lets GitBook tailor the answer to that use case.
The response will contain a direct answer to the question and relevant excerpts and sources from the documentation.
Use this mechanism when the answer is not explicitly present in the current page, you need clarification or additional context, or you want to retrieve related documentation sections.