> For the complete documentation index, see [llms.txt](https://knowledgebase.autorabit.com/llms.txt). Markdown versions of documentation pages are available by appending `.md` to page URLs; this page is available as [Markdown](https://knowledgebase.autorabit.com/product-guides/arm-1/arm-features/ncino/feature-migration/feature-migration-summary-page-1.md).
# Feature Migration Summary Page
### Overview
The **Feature Migration** page lists all the standard or community templates created to date.
* The **Community** tab shows templates that are either in progress or in a draft state.
* Once published, templates move from the **Community** tab to the **Standard** tab, making them available for customers.
From this page, you can:
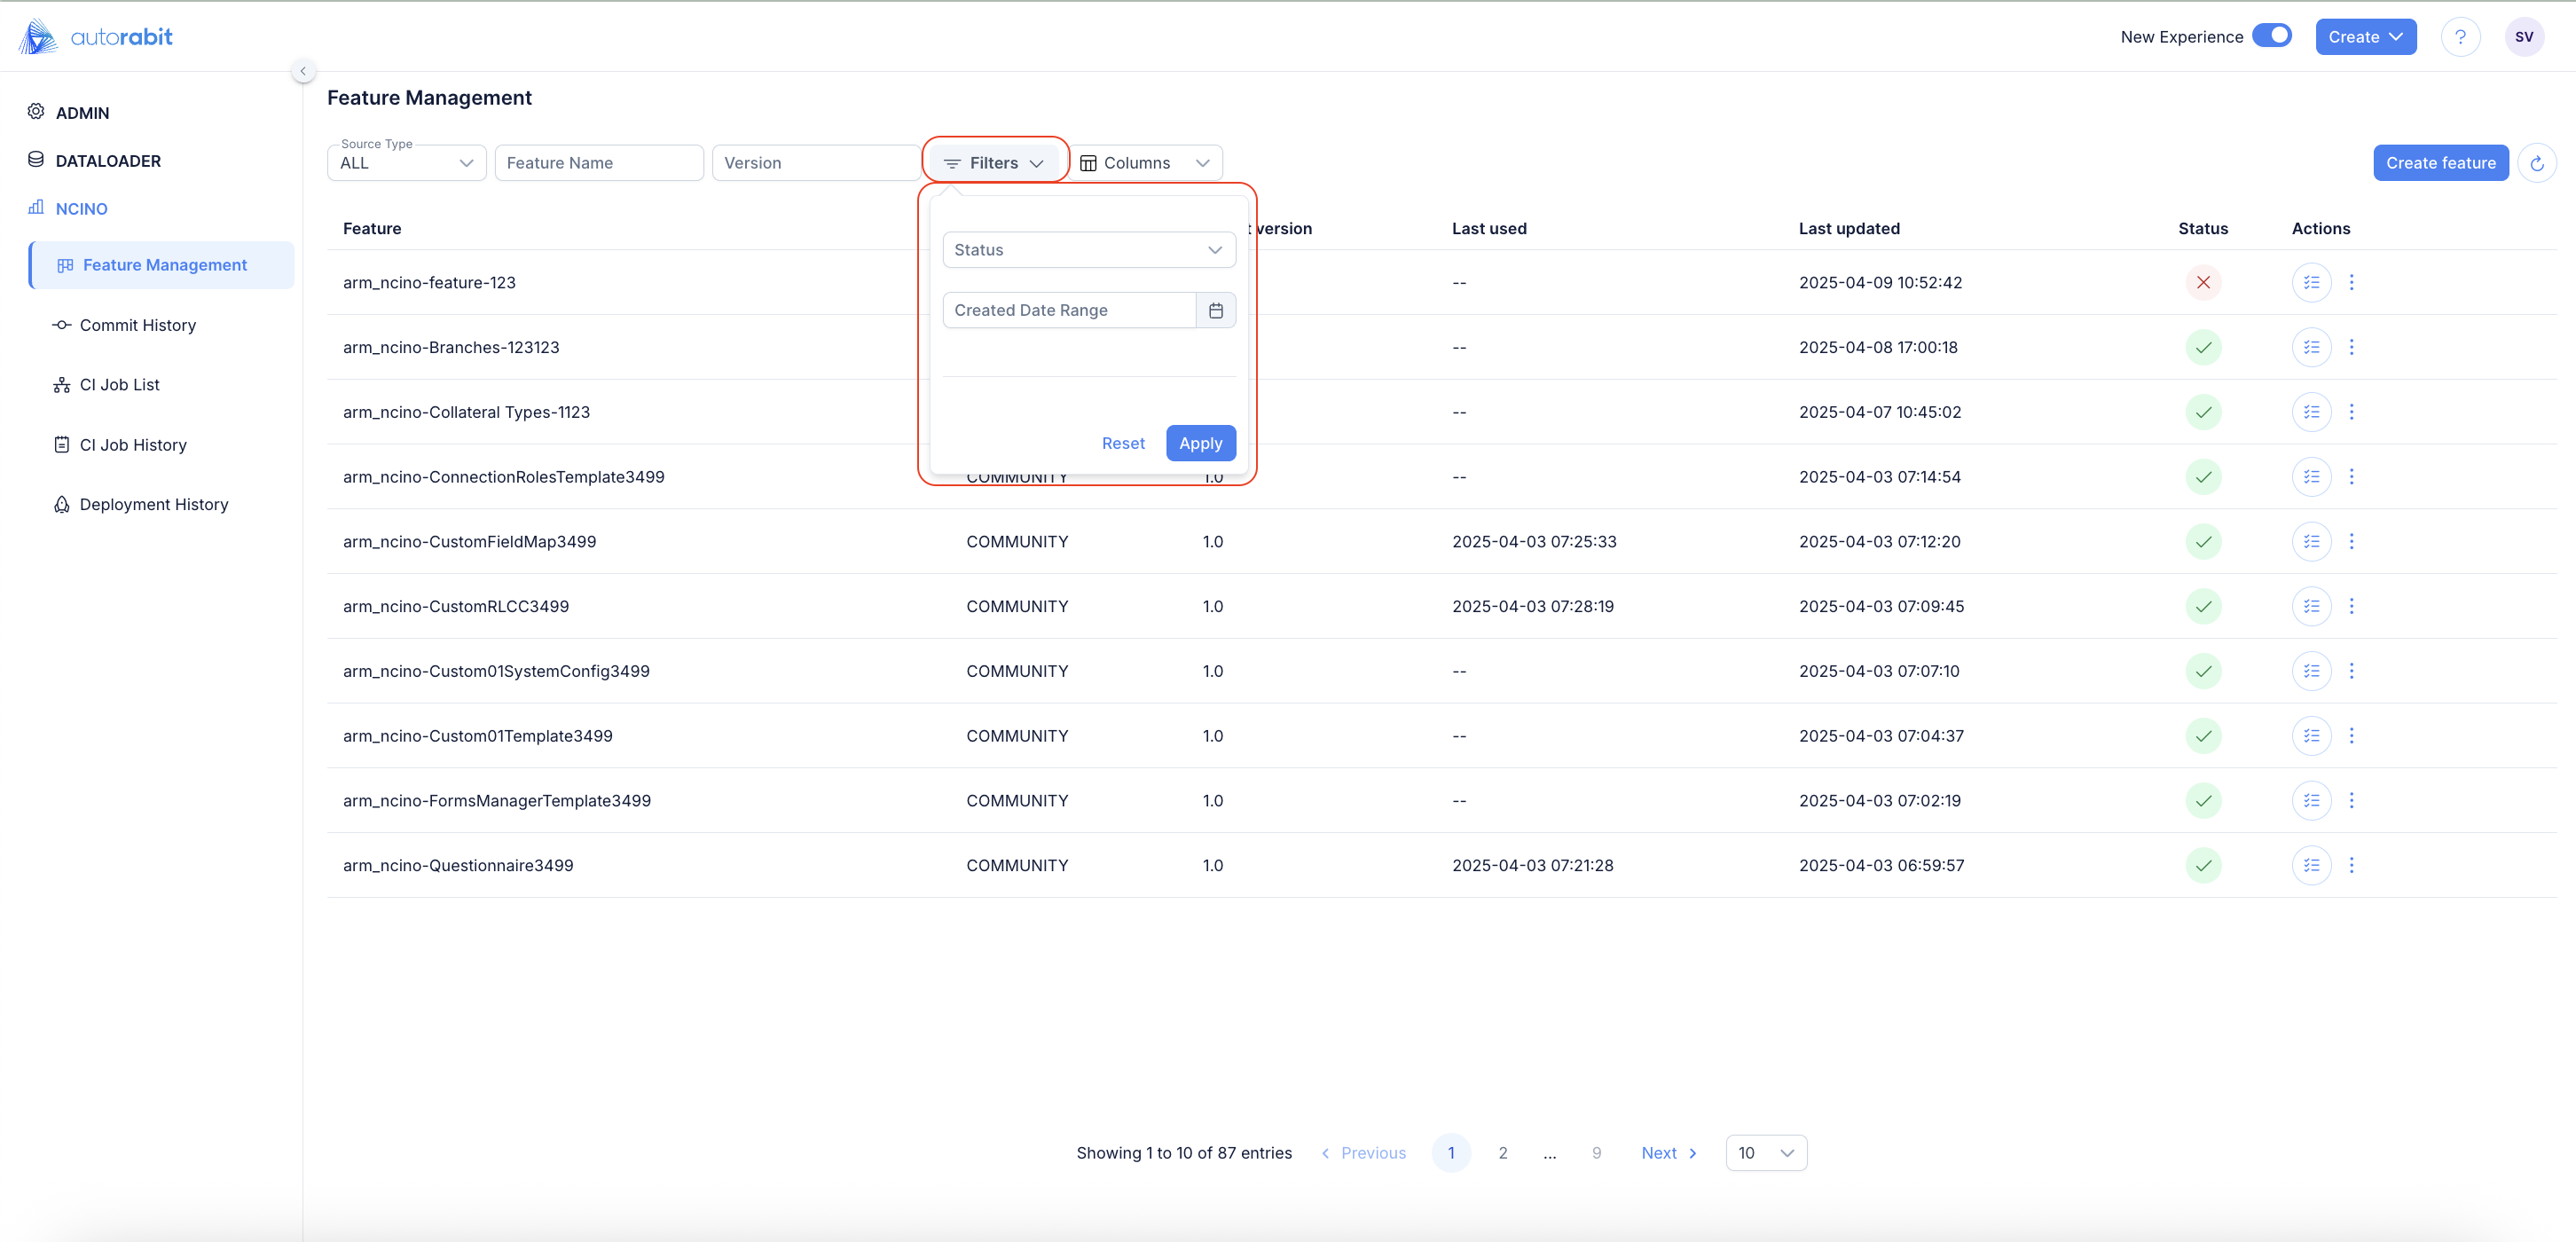
* View templates in chronological order.
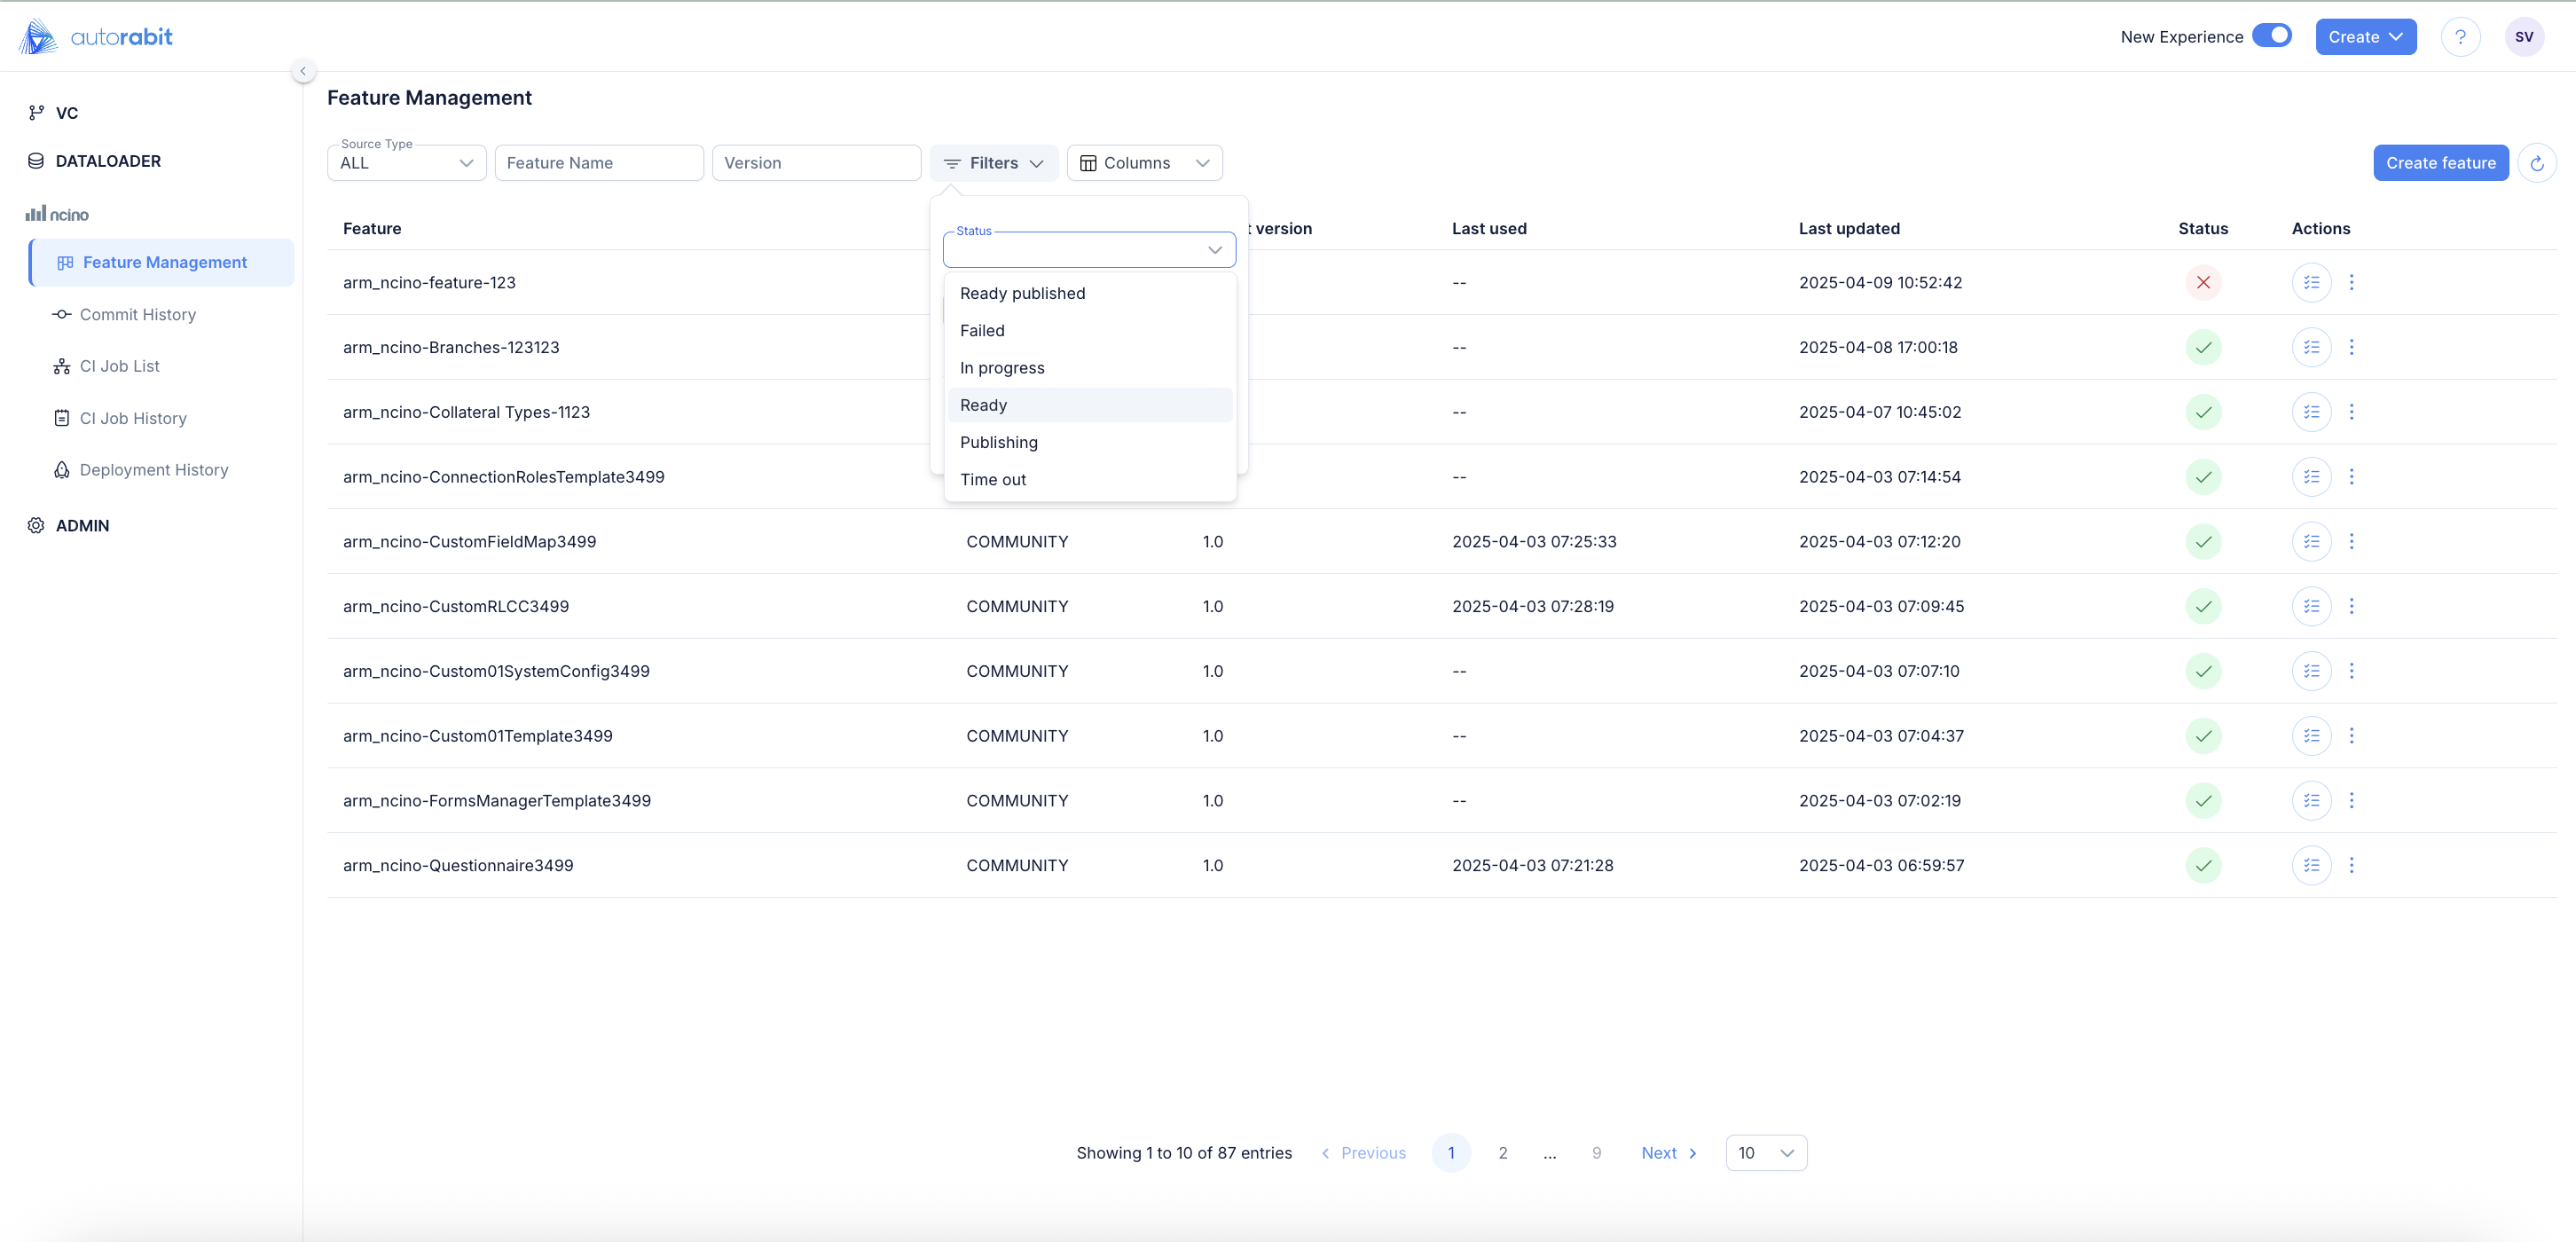
* Check the status of each template.
* Review the latest version of a template.
* View the last modified timestamp.
* See the most recent use of each template.
* Audit the change log.
* Access and download datasets.
* Manage templates.
### **Step-By-Step Guide**
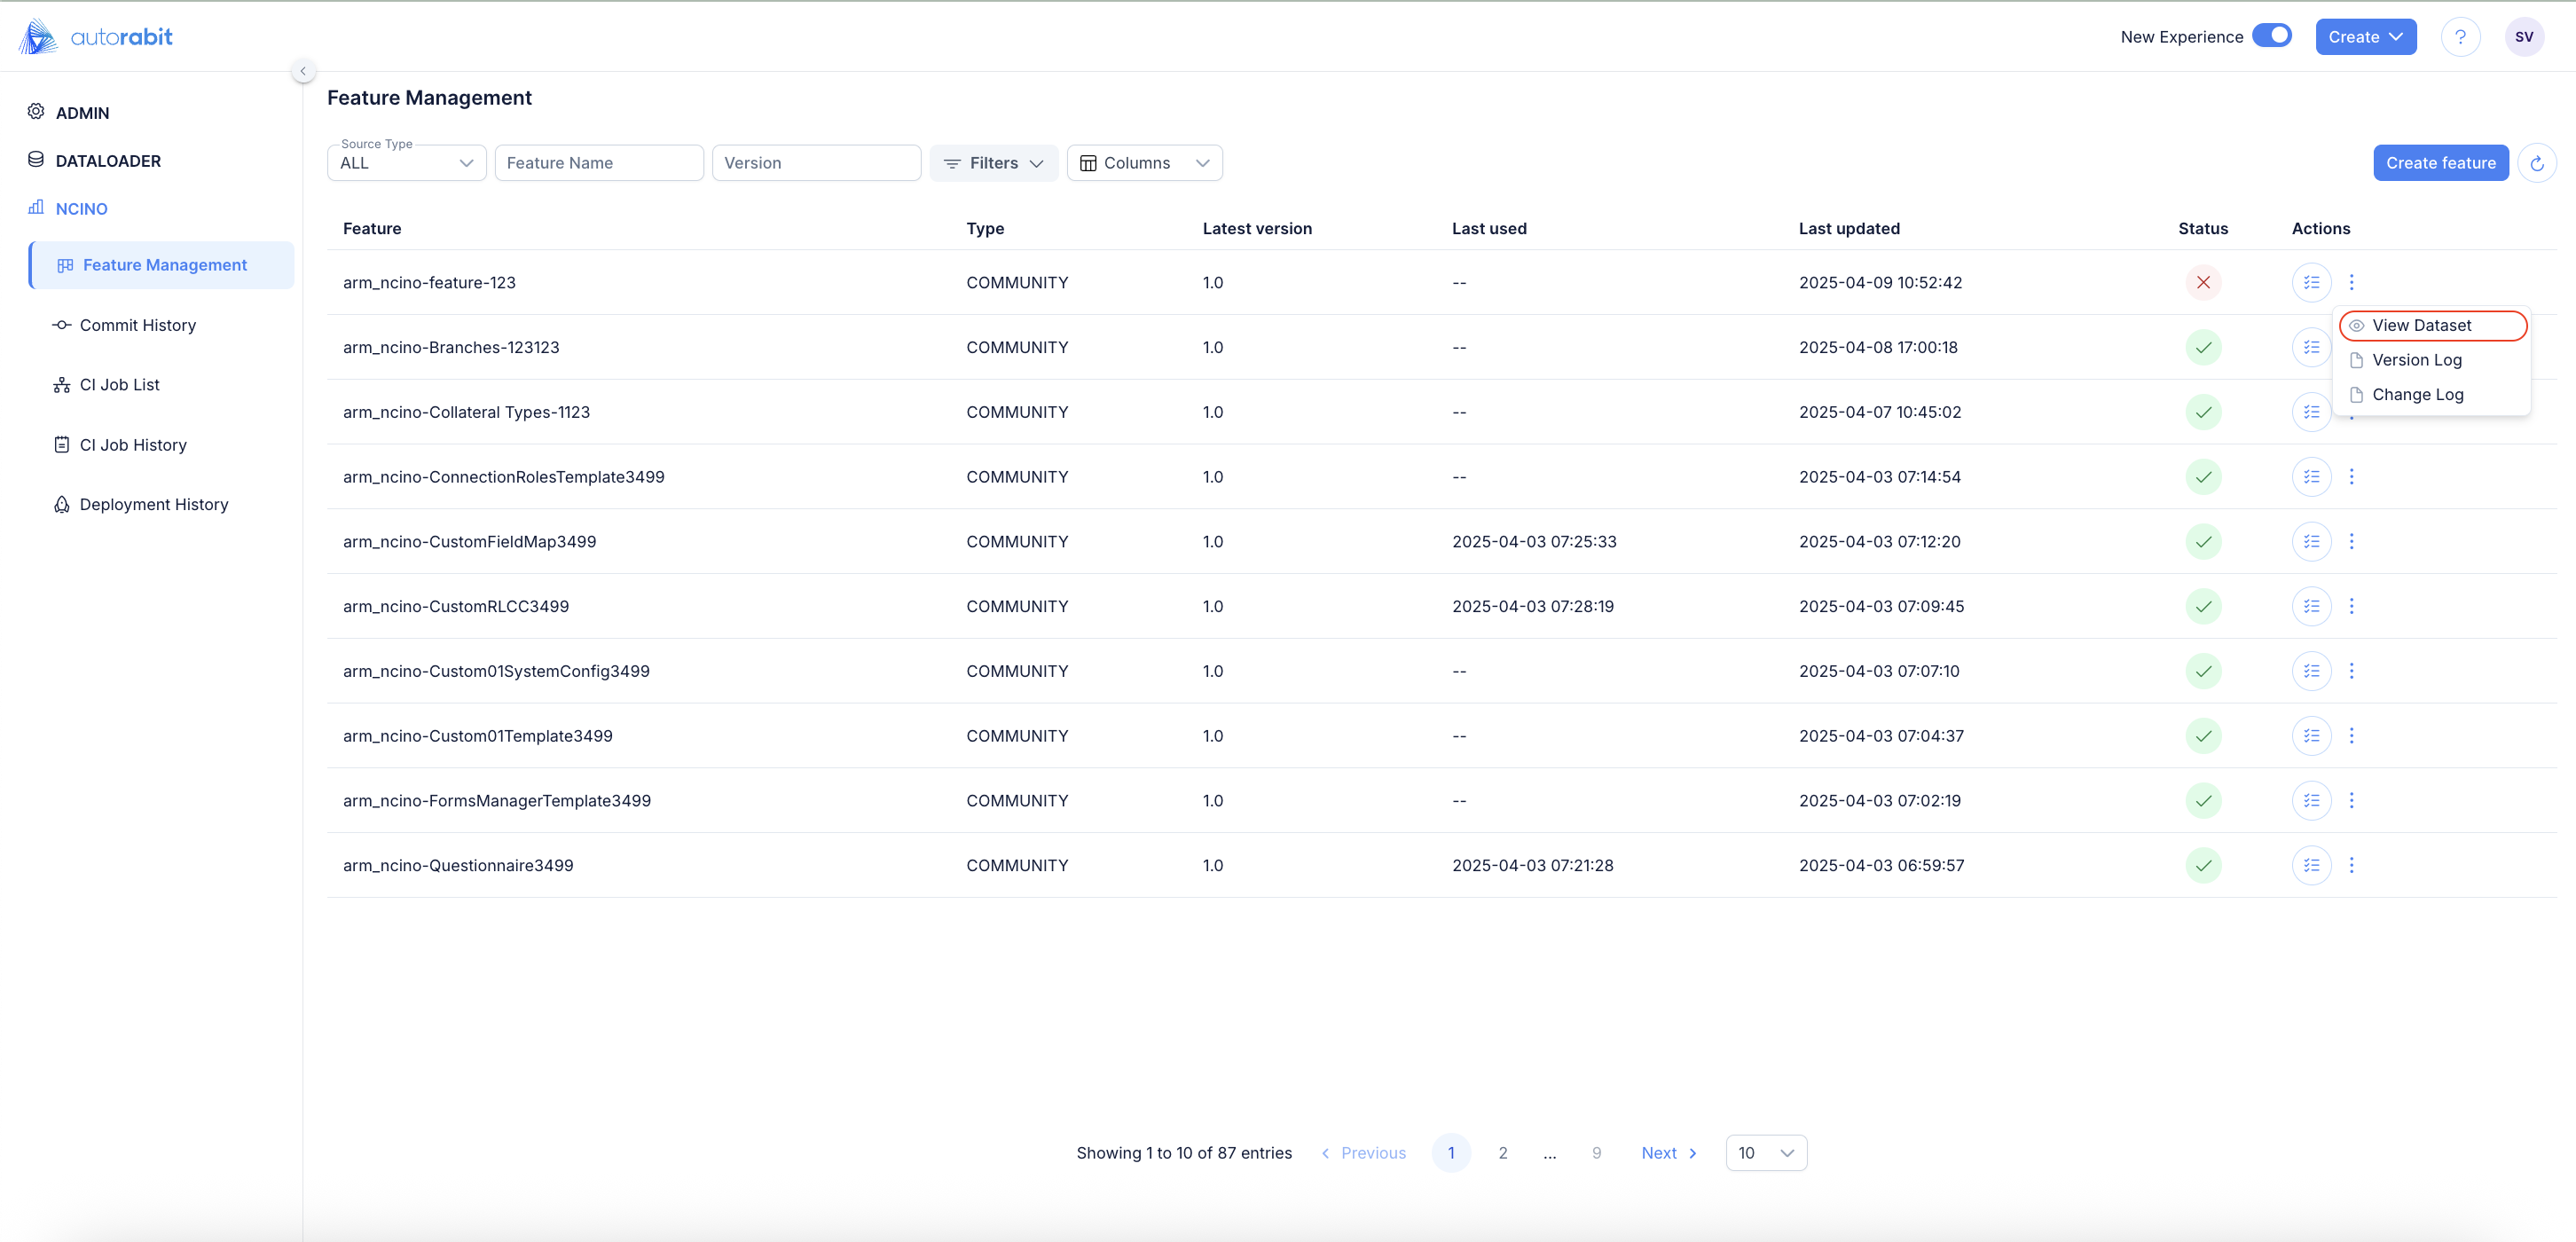
1. The following data is shown on the "Feature Management" page:
* Source Type (dropdown)
* Feature name
* Version
* Filter (dropdown)
* Columns (dropdown)
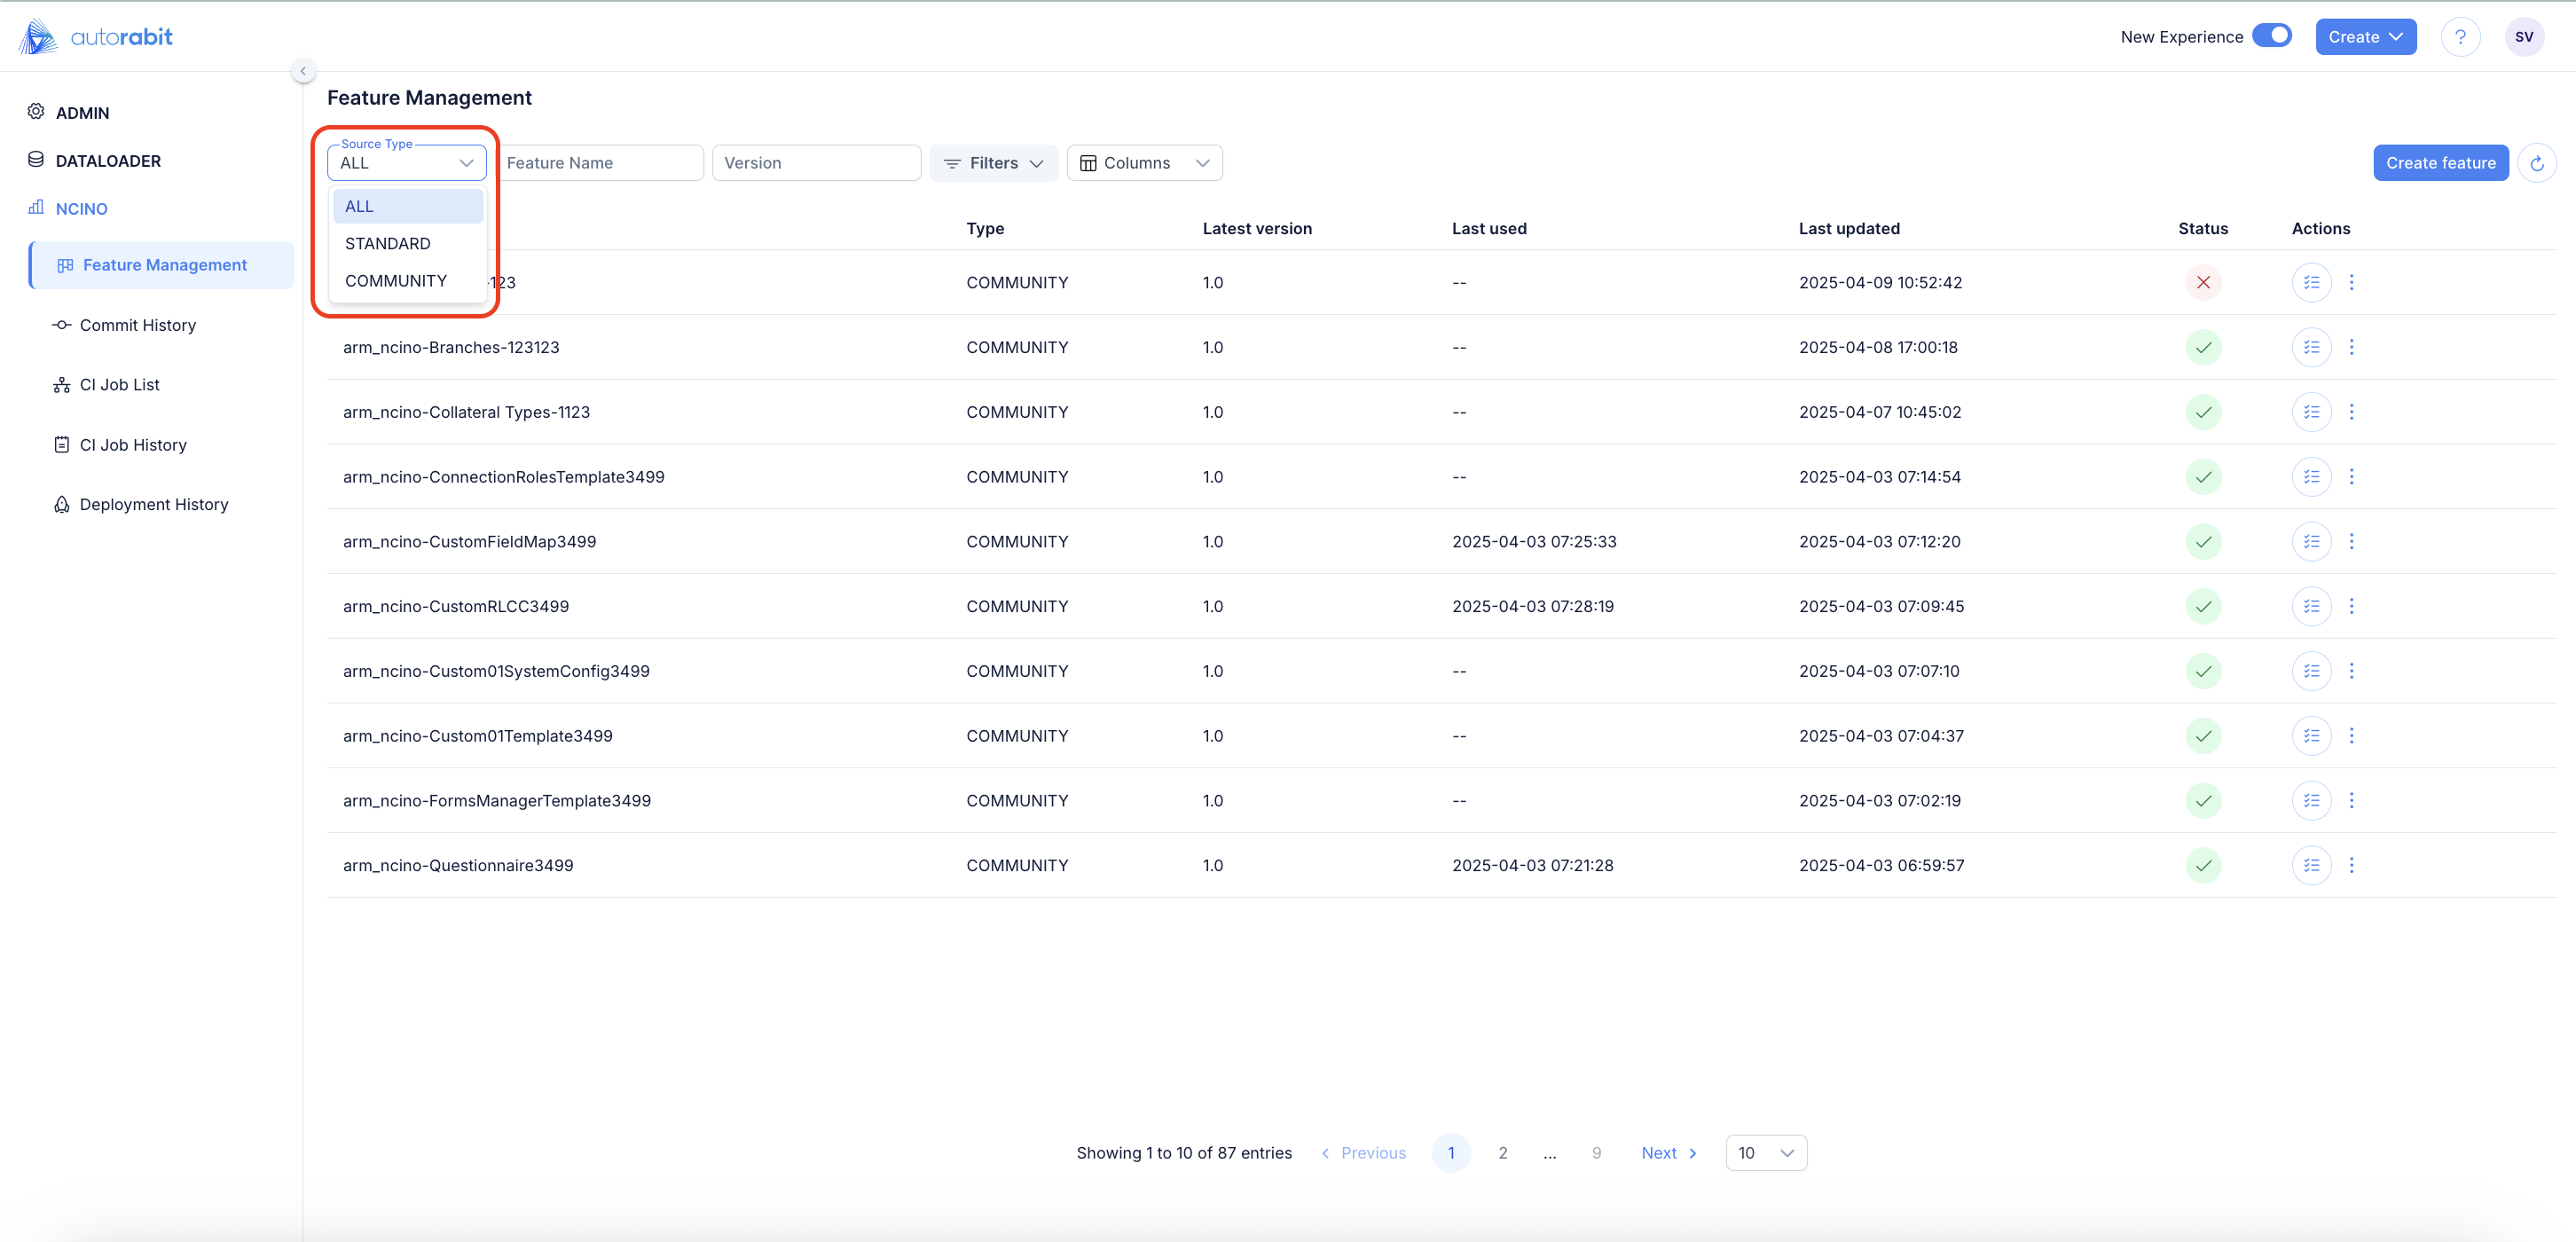
2. Source Type has the following two values:
* Community
* Standard
3. When the source type is selected as **Community,** those templates that are either in progress or yet to be published (Ready-Draft) will be displayed in the grid.
4. When the source type is selected as **Standard**, the published templates that are ready to be used will be displayed in the grid.
5. **Feature Name:** The name of the feature or the template created can be entered here to filter data in the grid.
6. **Version:** The version number can be entered here to filter data in the grid based on the version.
7. **Filters:** The data on the grid can be further filtered based on two different filter options available.
8. **Status:** The data on the grid can be filtered based on the statuses of different templates created. The following values are available under the status options:
* Ready published
* Failed
* In progress
* Ready
* Publishing
* Time out
9. **Created Date Range:** The data on the grid can be filtered based on the created date of the template.
10. The following columns can be observed on the grid of this page:
* **Feature**: Feature Name
* **Type**: Represents the type of the template selected.
* **Latest Version:** Represents the version searched.
* **Last used:** Shows when the template was last used.
* **Last updated:** Shows when the template was last updated.
* **Status**: Shows the current status of the template searched.
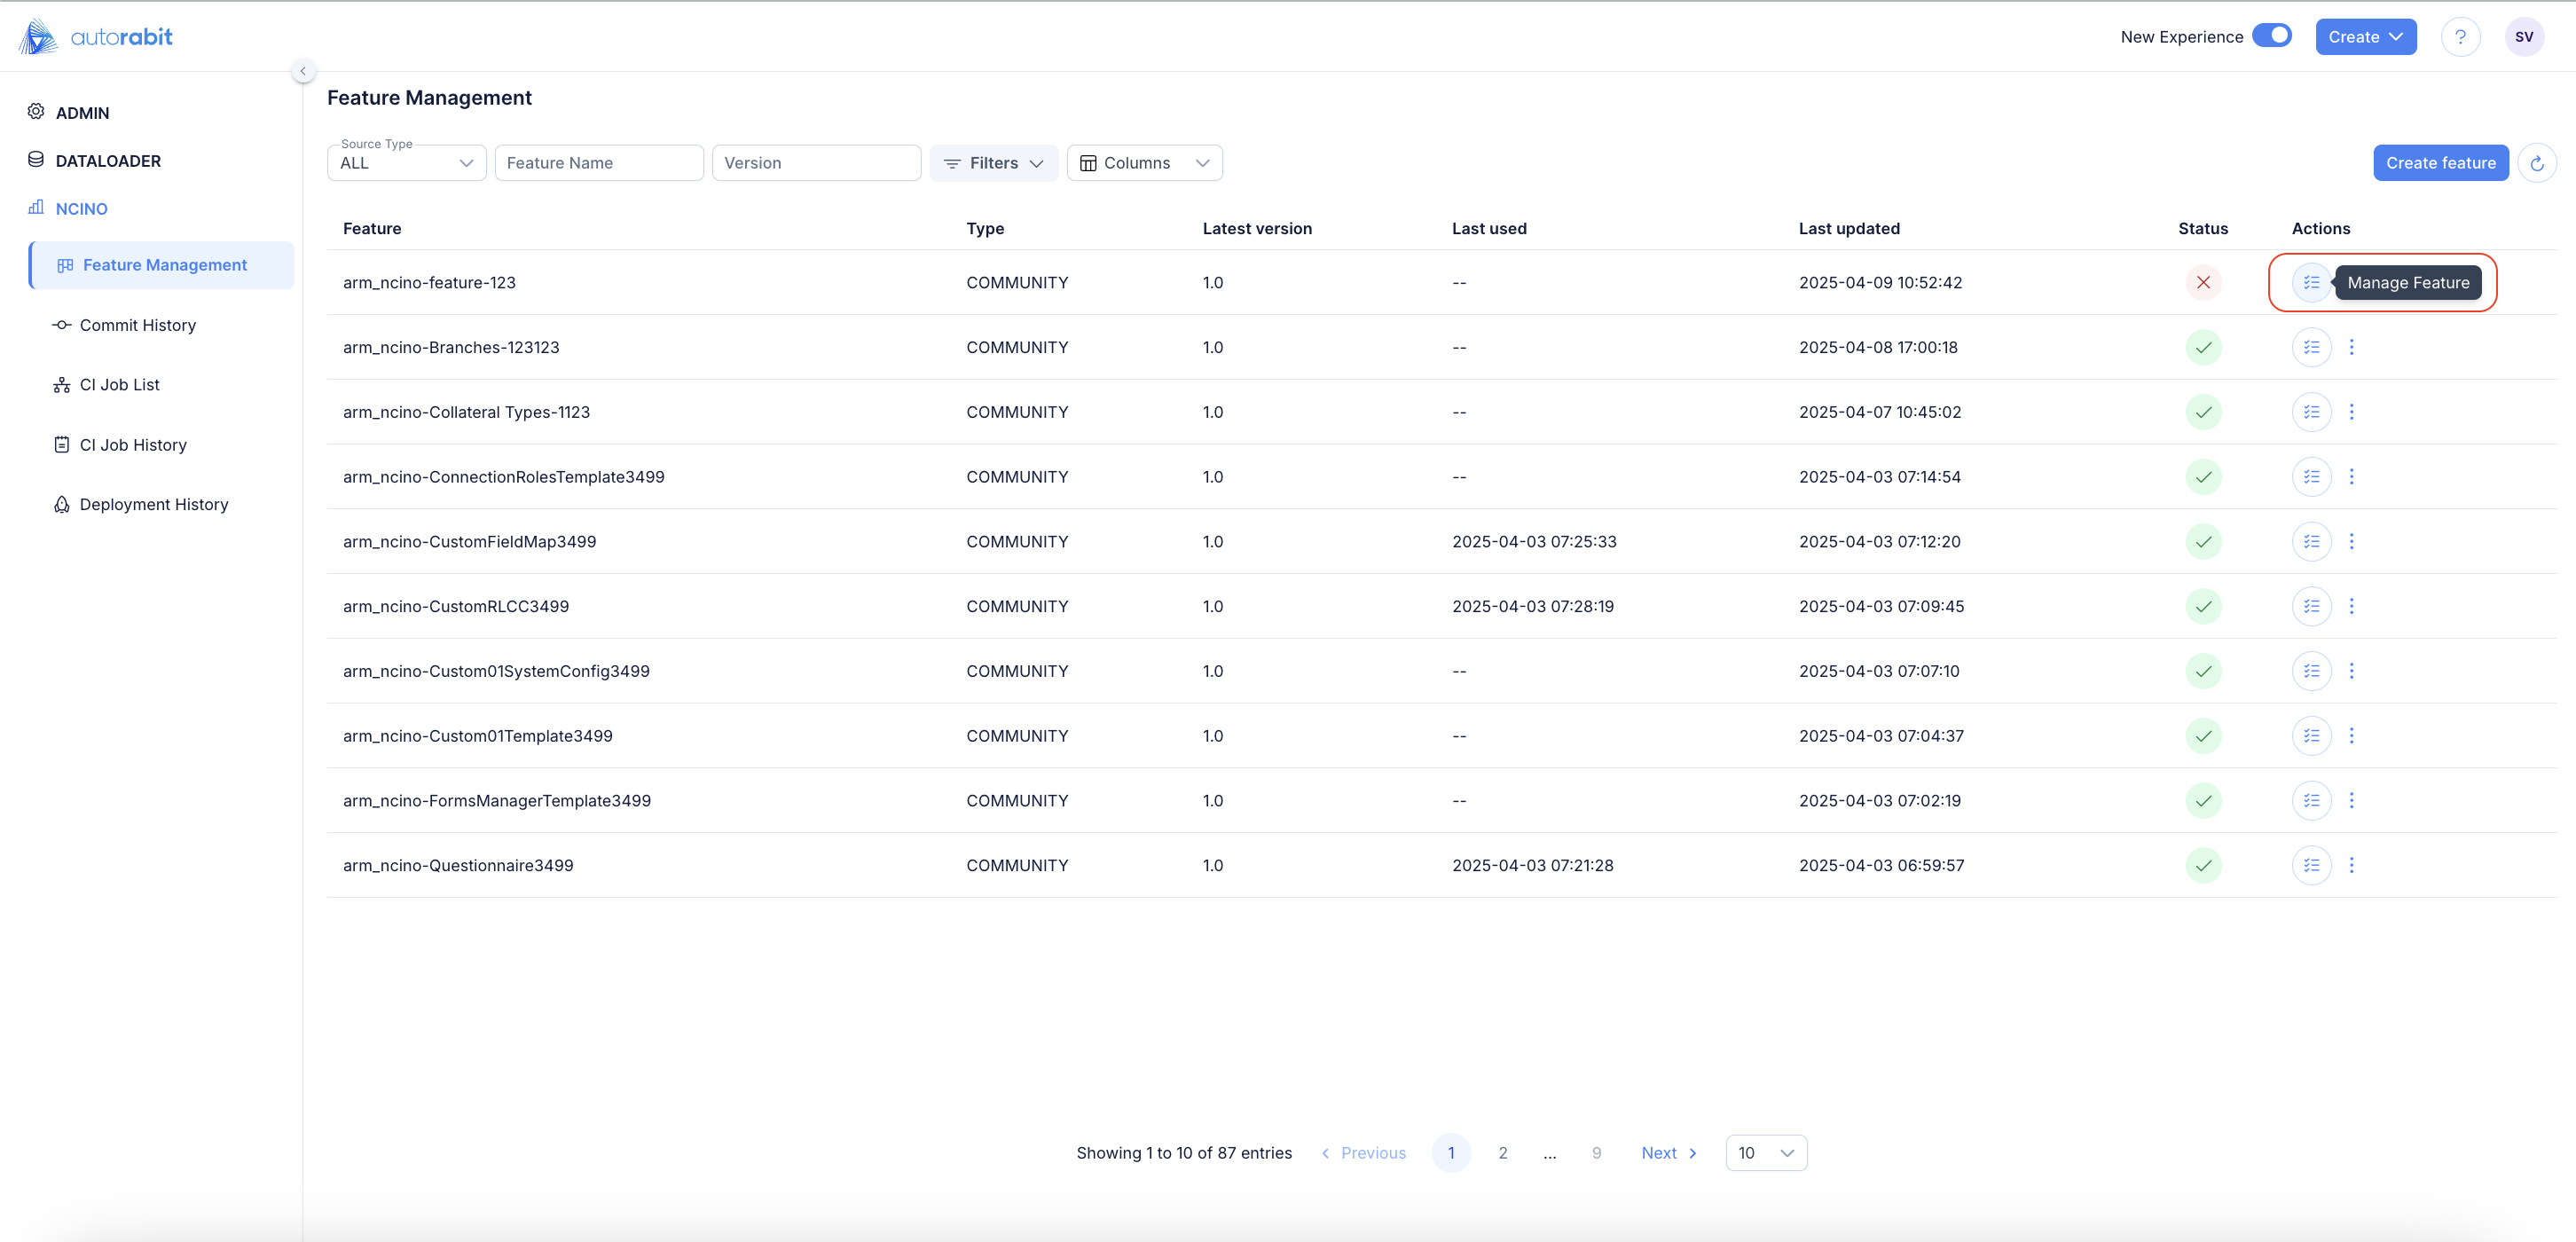
* **Actions**: Provides various actions that can be performed on the template. The following actions can be performed on the template:
* Manage template
* View data set
* Version log
* Change log
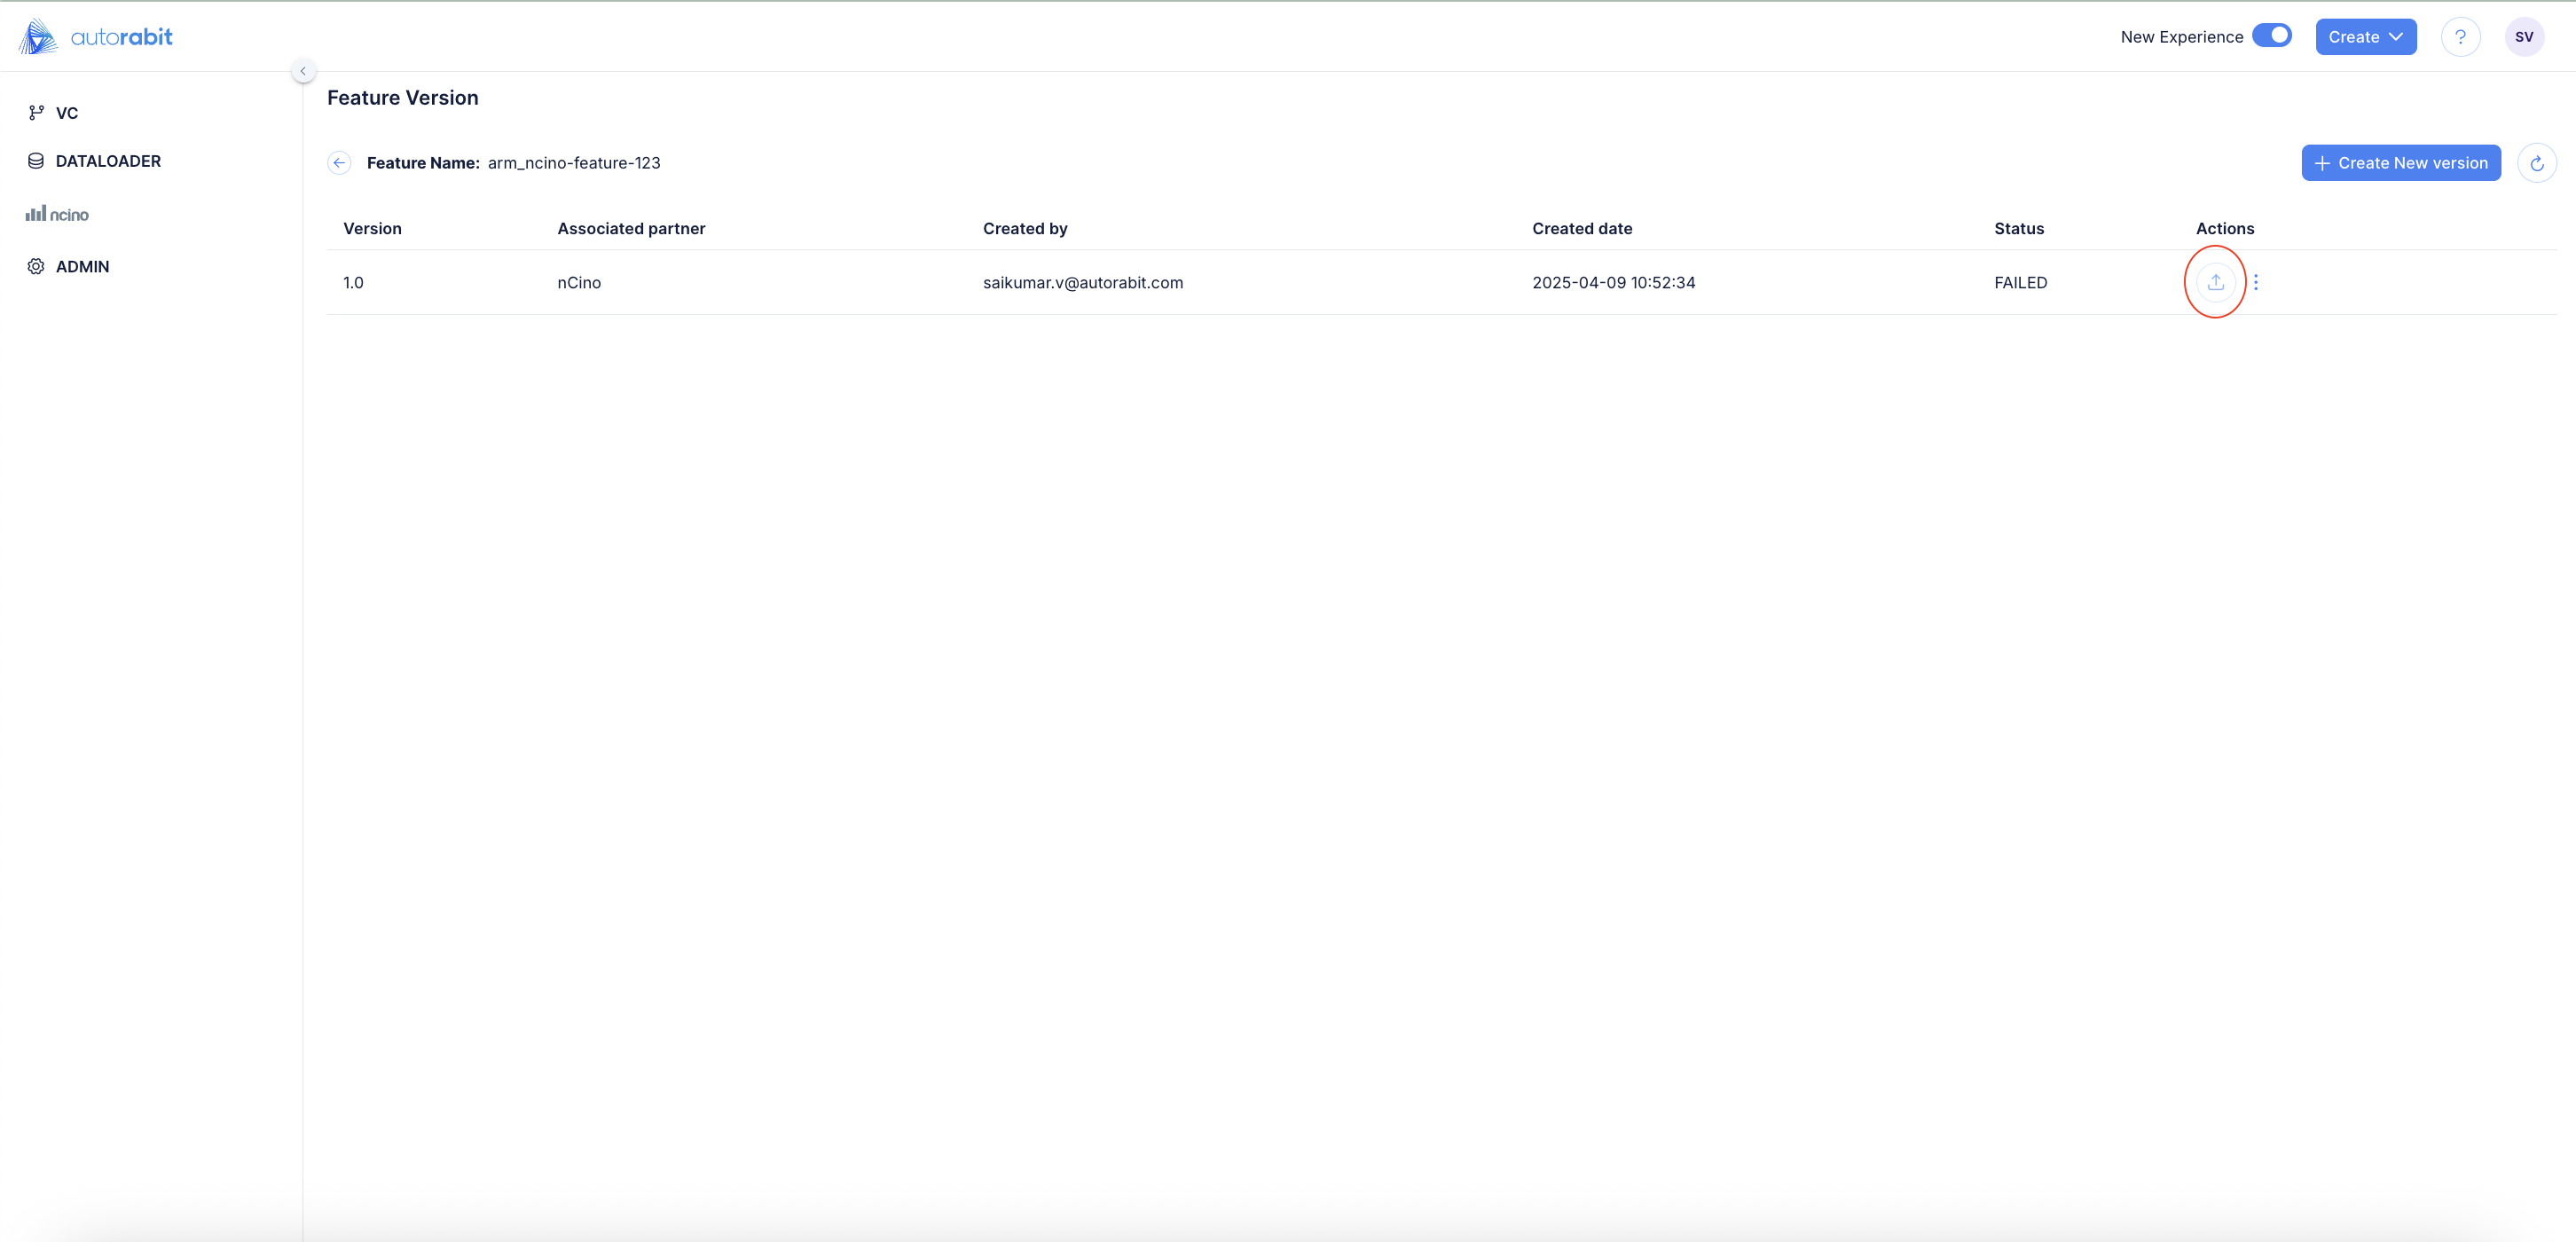
11. **Manage template:** Click on this action to access the page where any changes to the created template can be made and/or the template can be published.
12. Clicking on "Manage template" will redirect you to the following page.
12. The following actions can be performed on this page:
* Create new version
* Publish
* View dataset
* Version log
* Change log
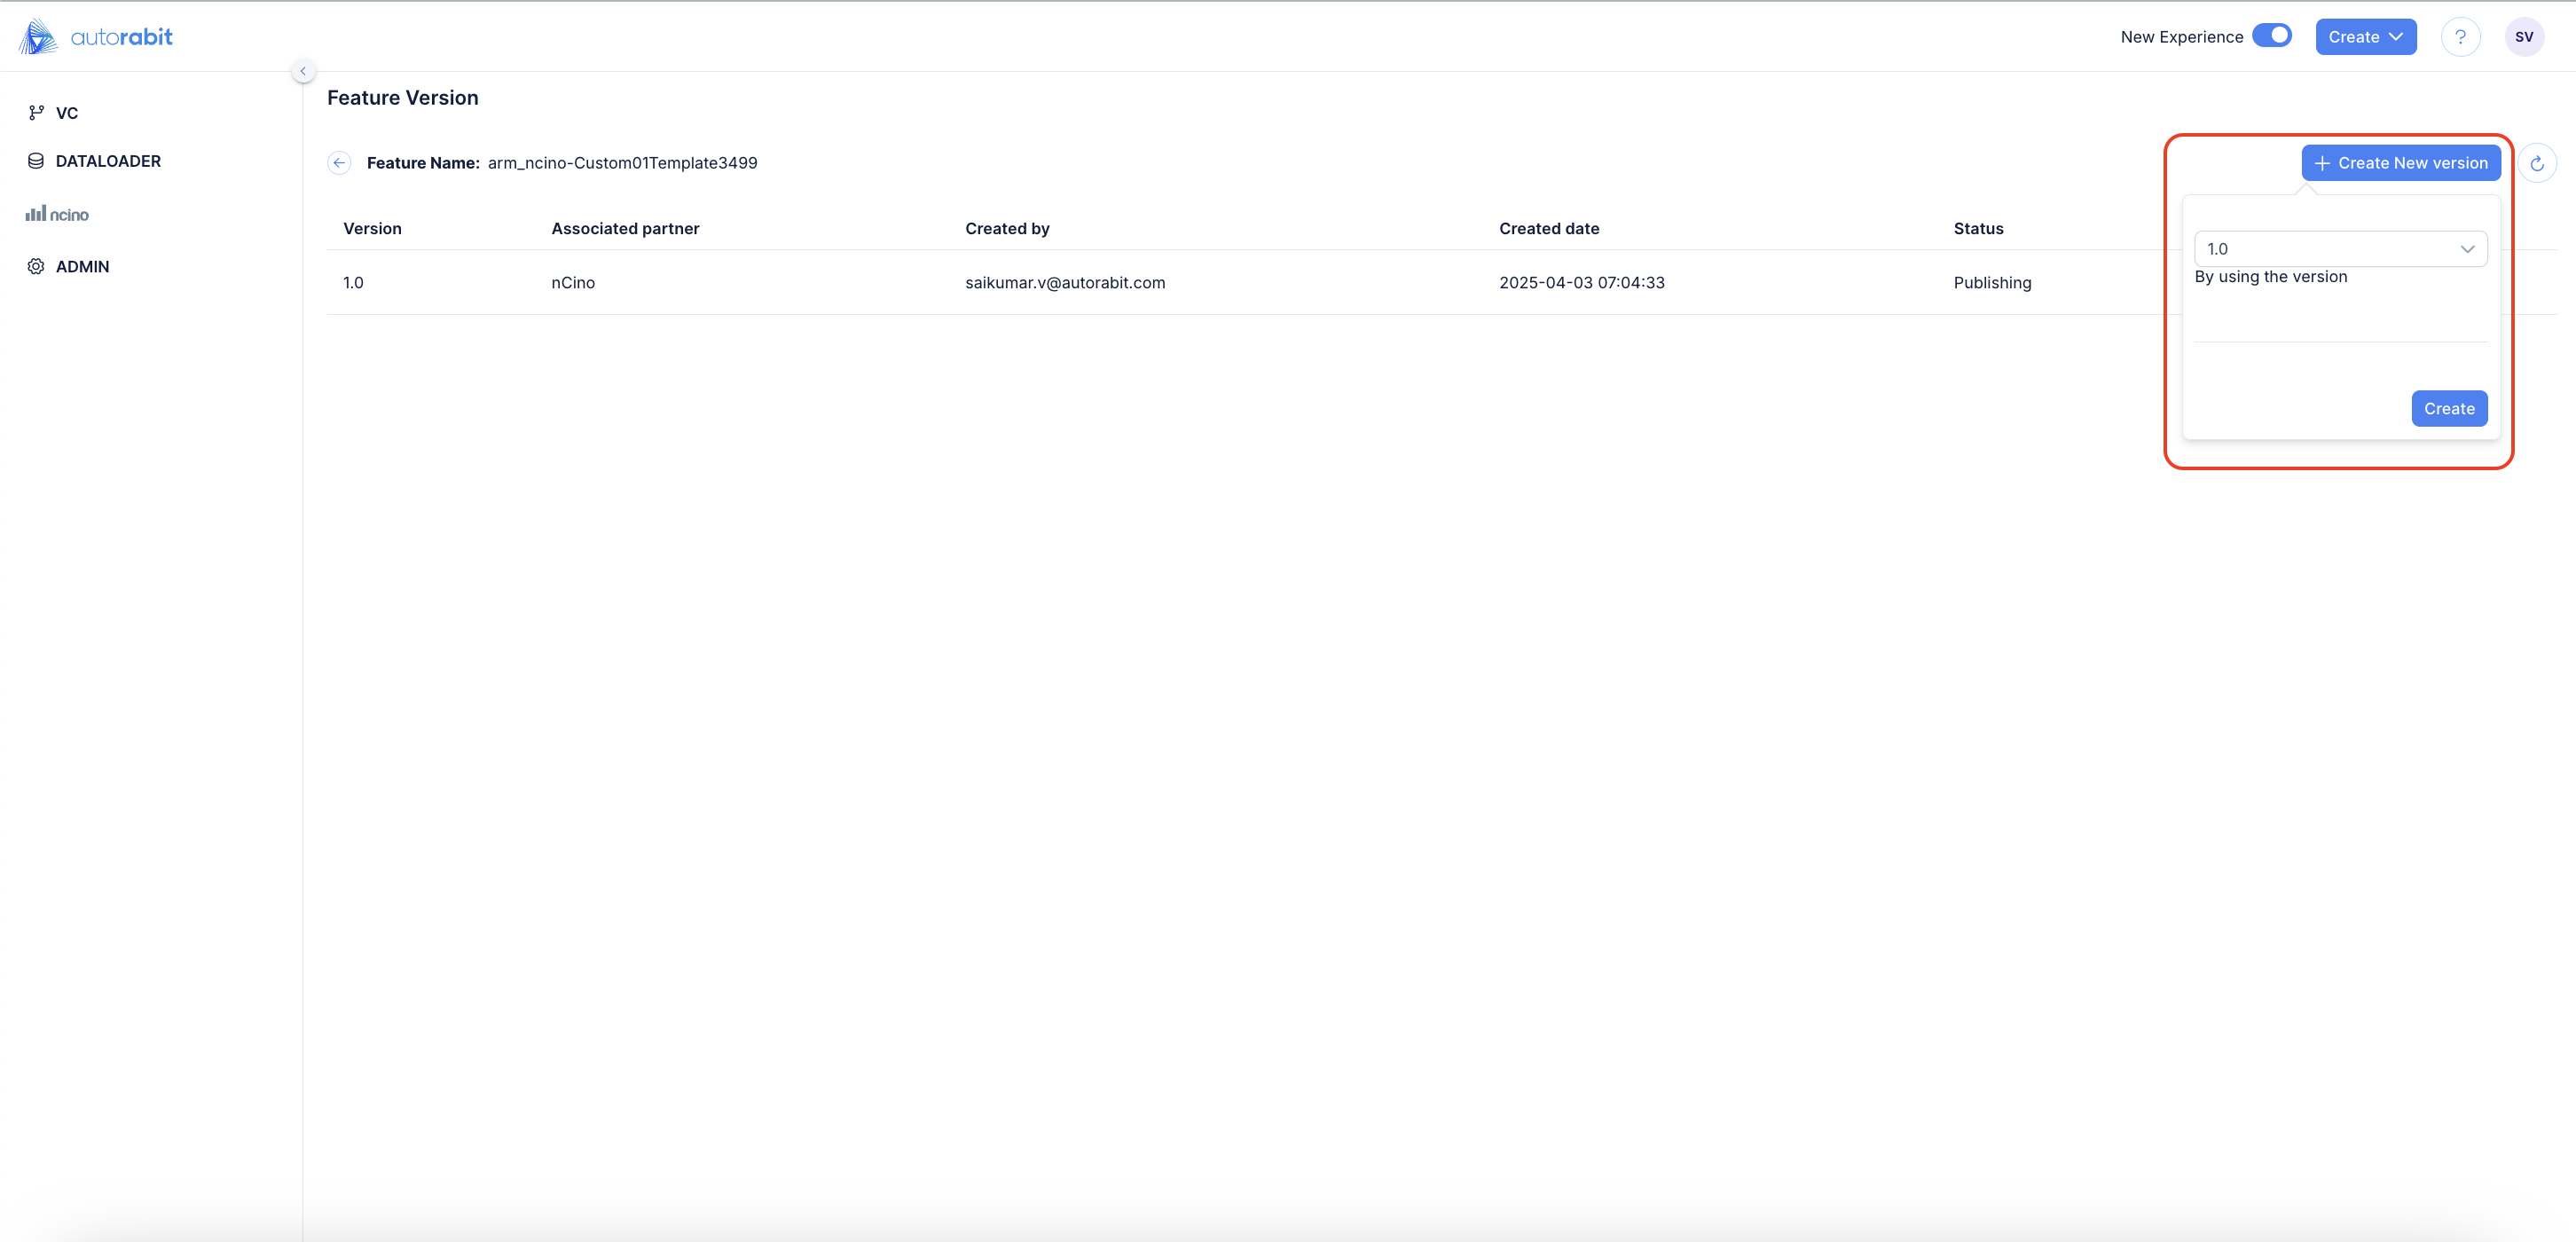
13. **Create Version:** Use this option to create a new version for the already created Feature Migration template.
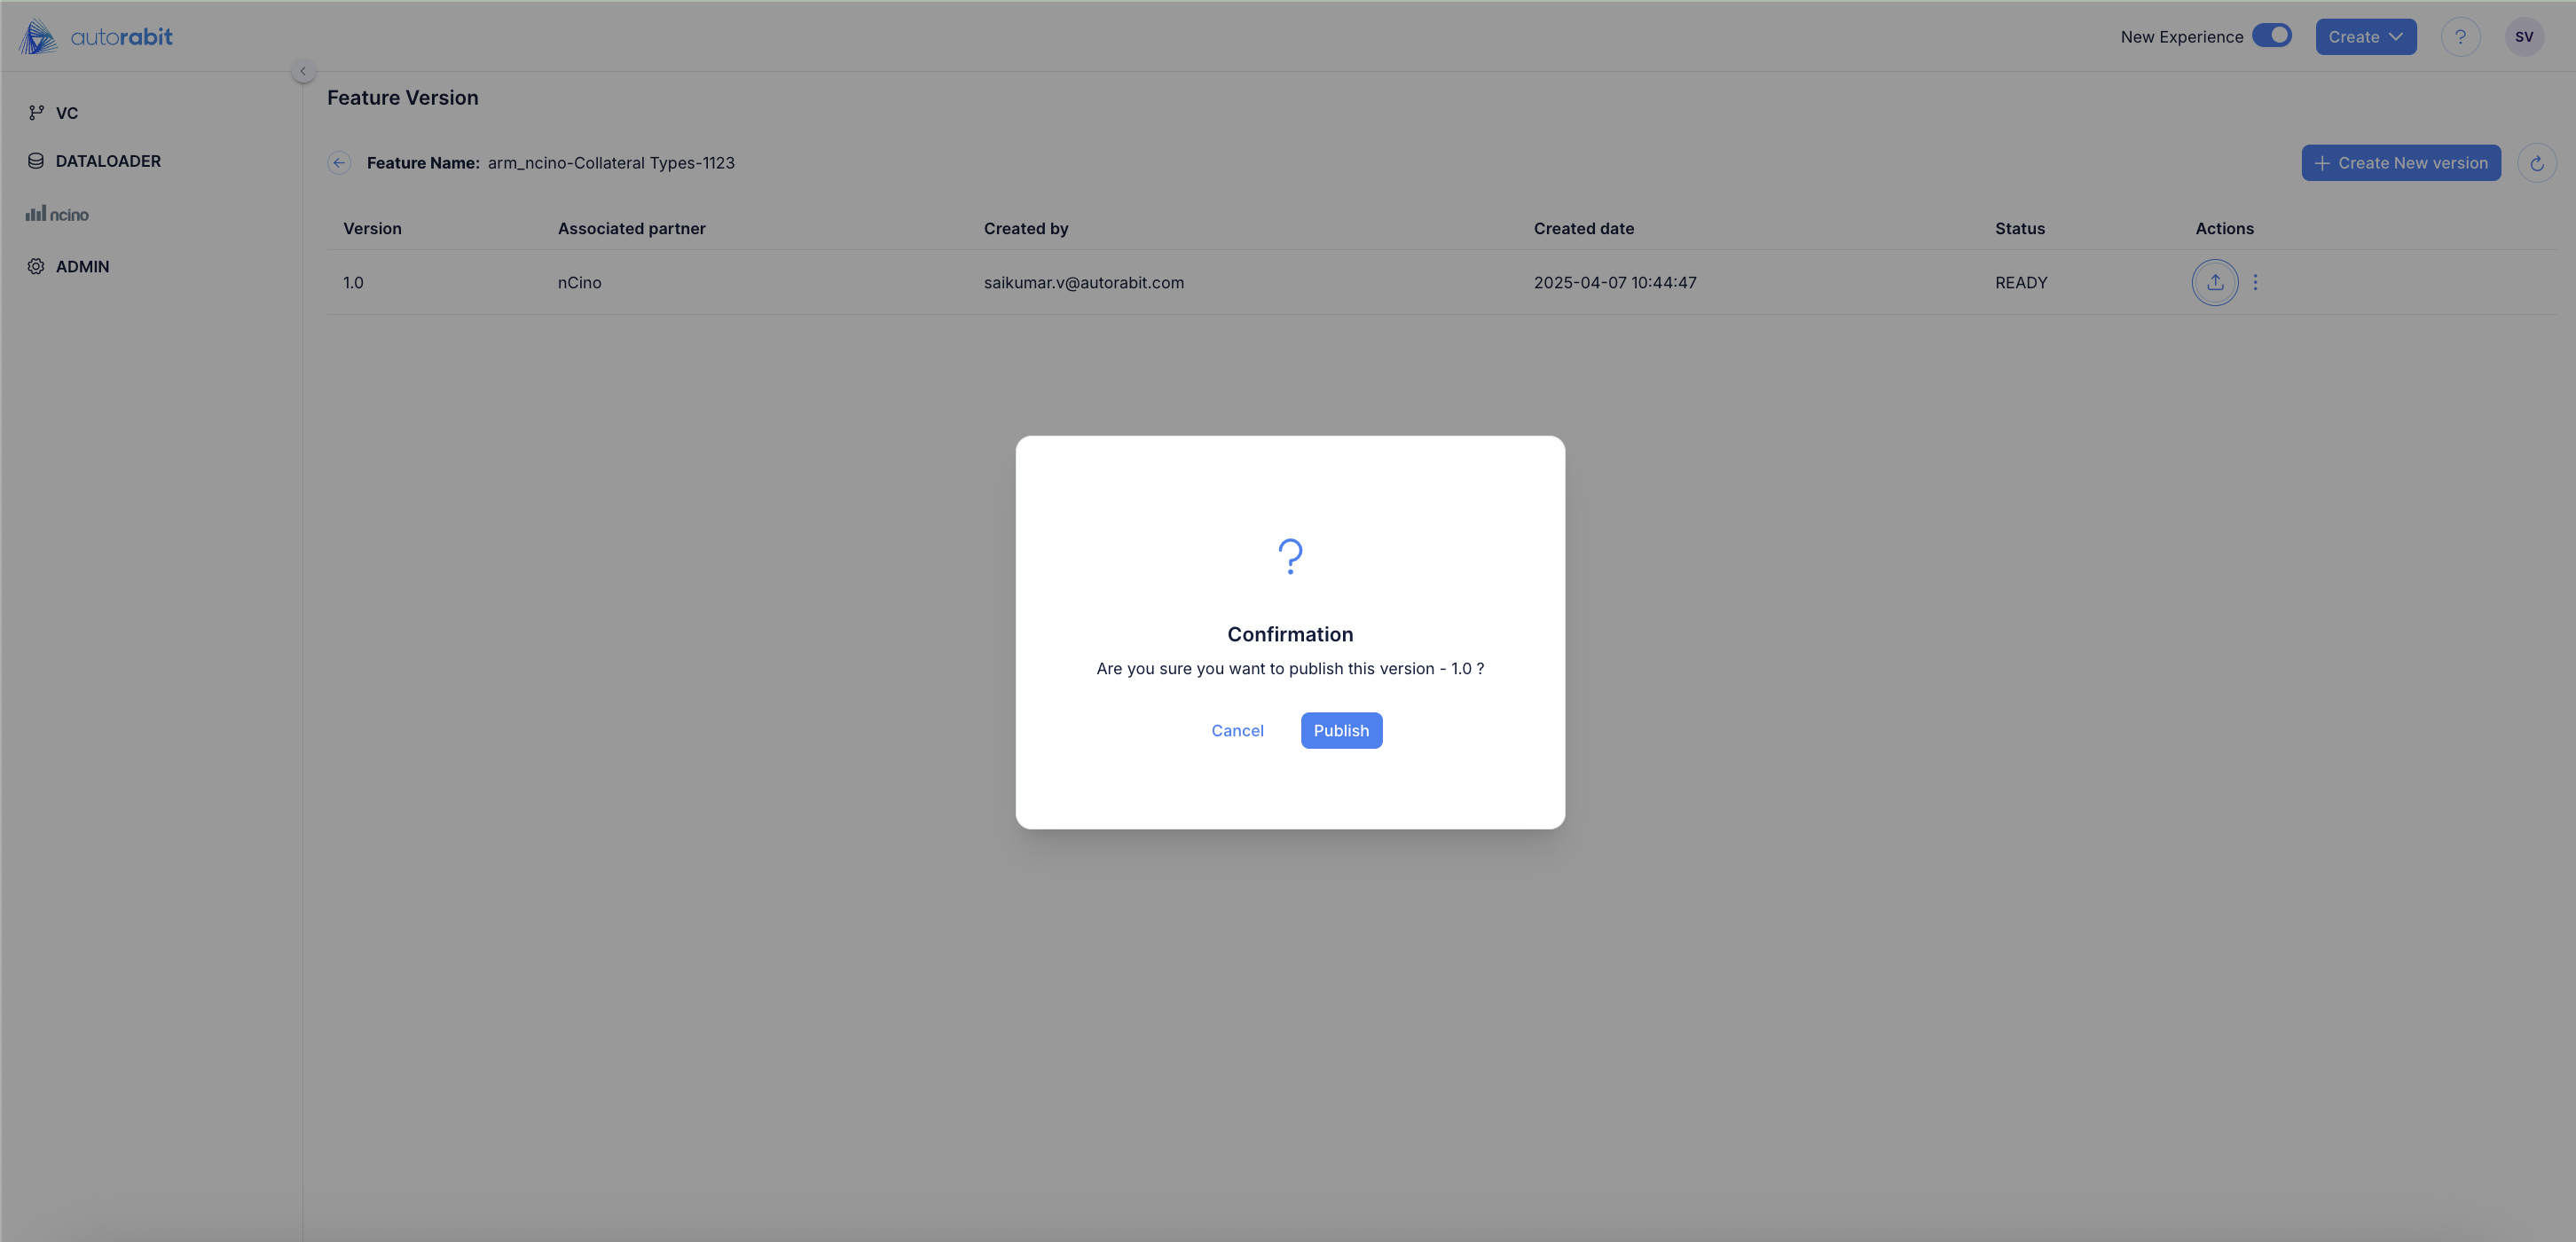
12. **Publish**: Click the 'Publish' button to publish the template. Clicking on 'Publish' shows the following prompt for confirmation.
13. To allow all nCino customers to access the template, the nCino partner needs to officially publish it. Upon confirmation, the status of the template changes from **Ready-Draft** to **Ready-Published**.
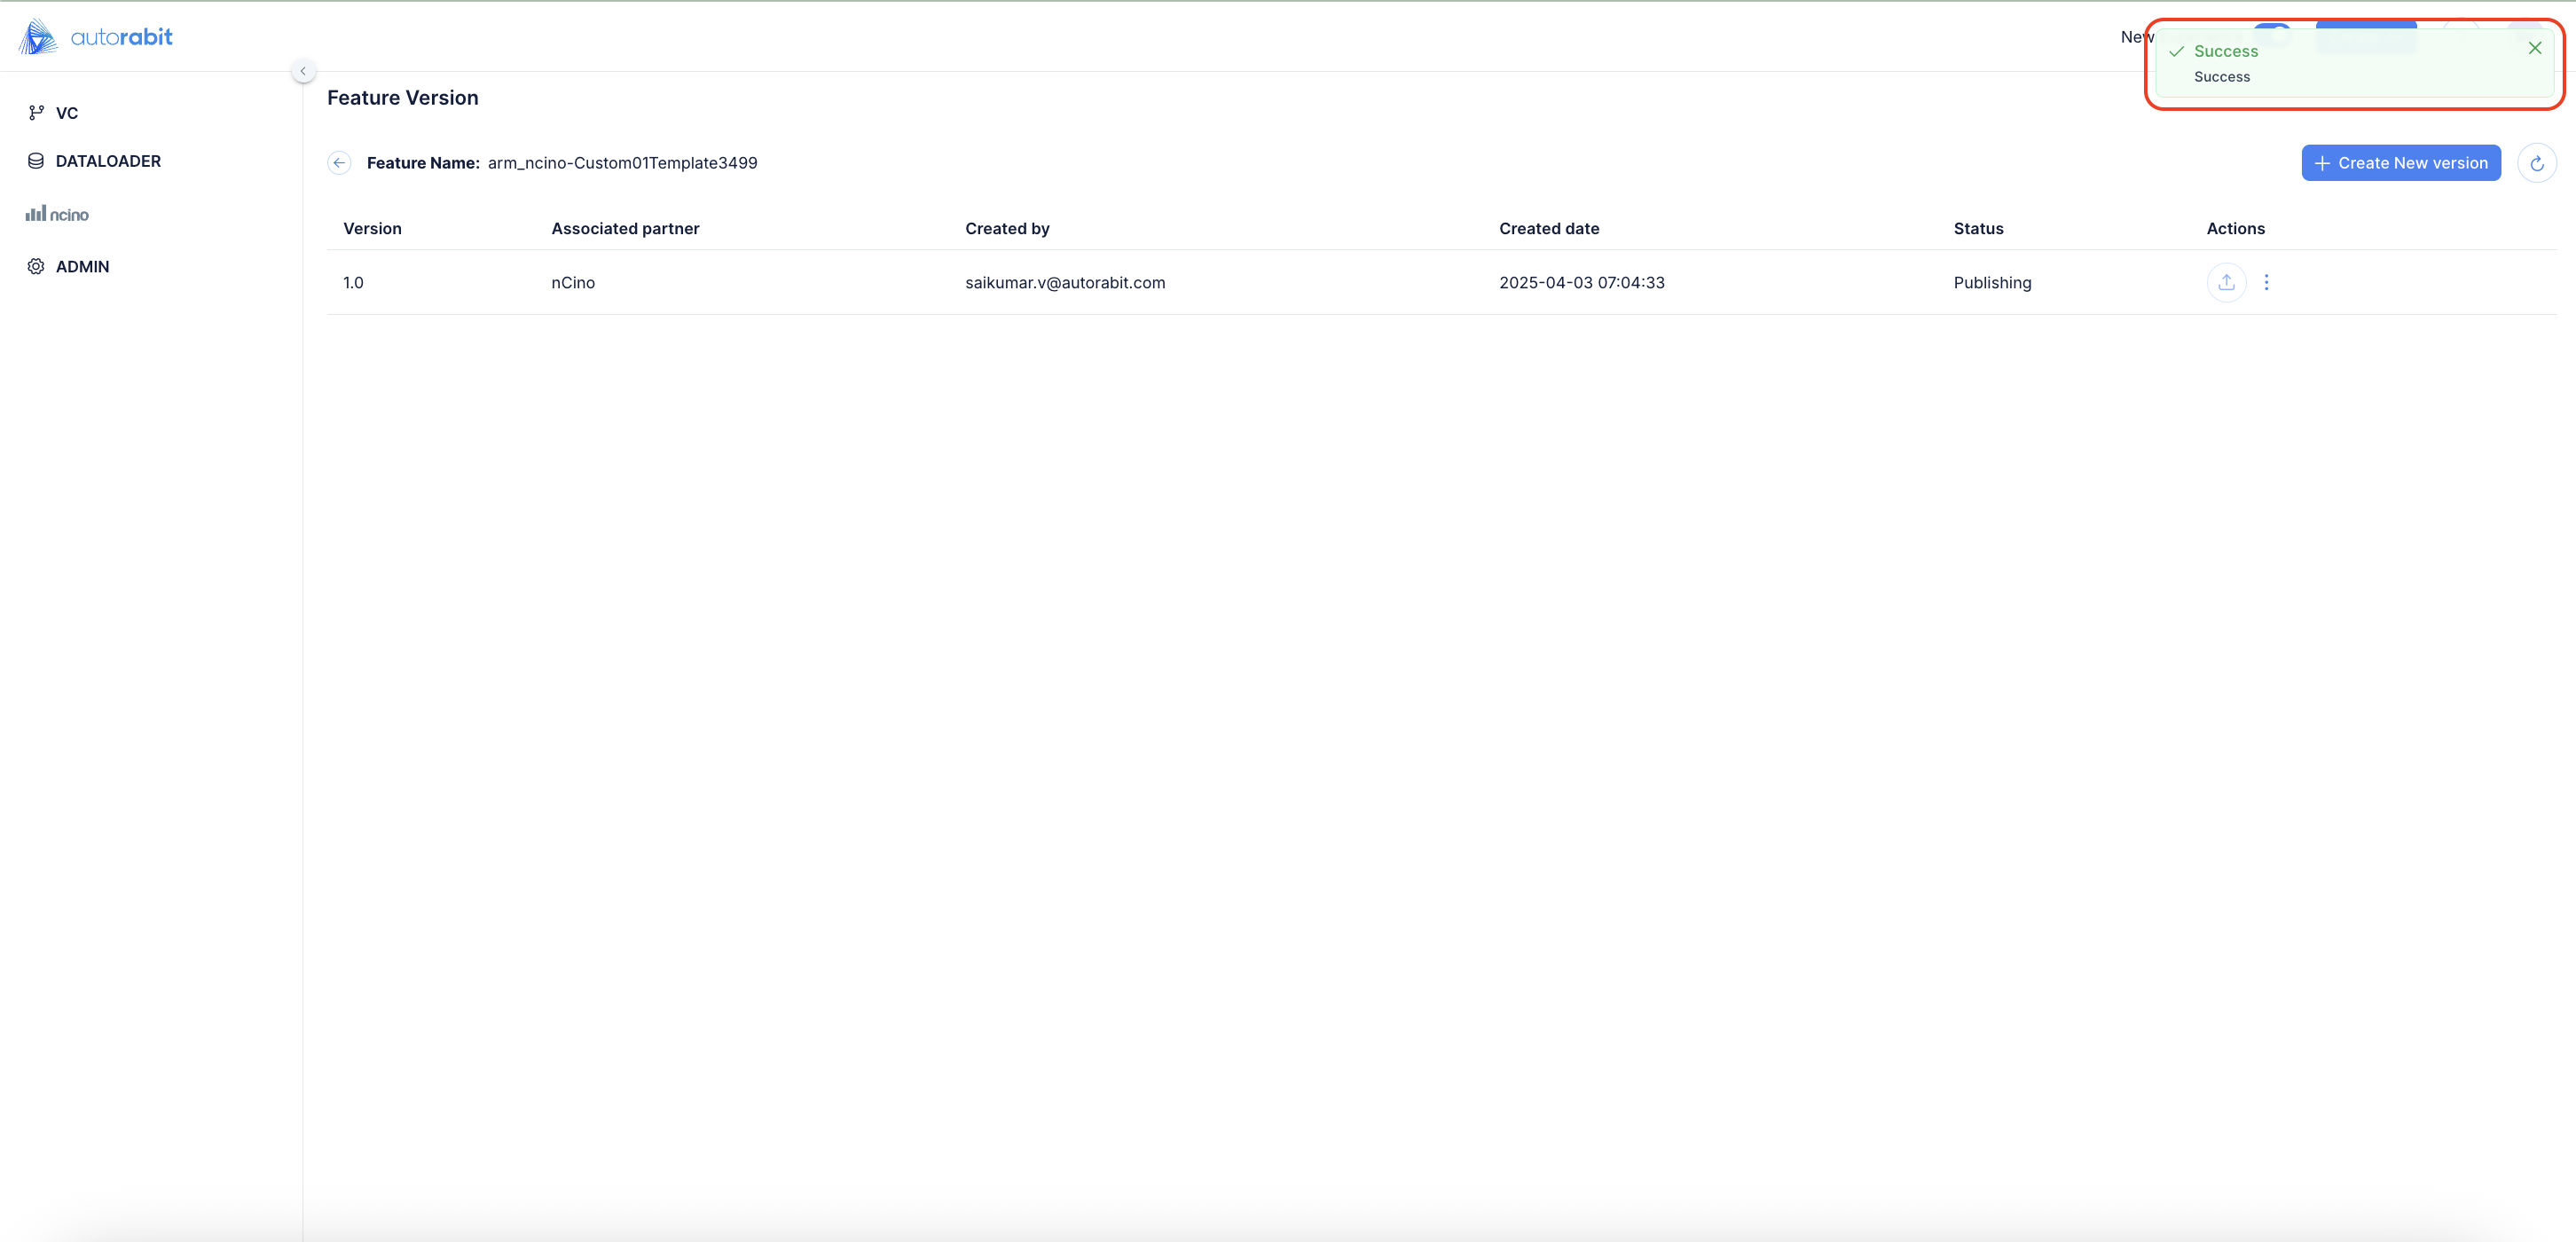
14. A success message will be displayed upon successfully publishing the template.
15. **View dataset:** You can view the list of records fetched separately for each version you create.
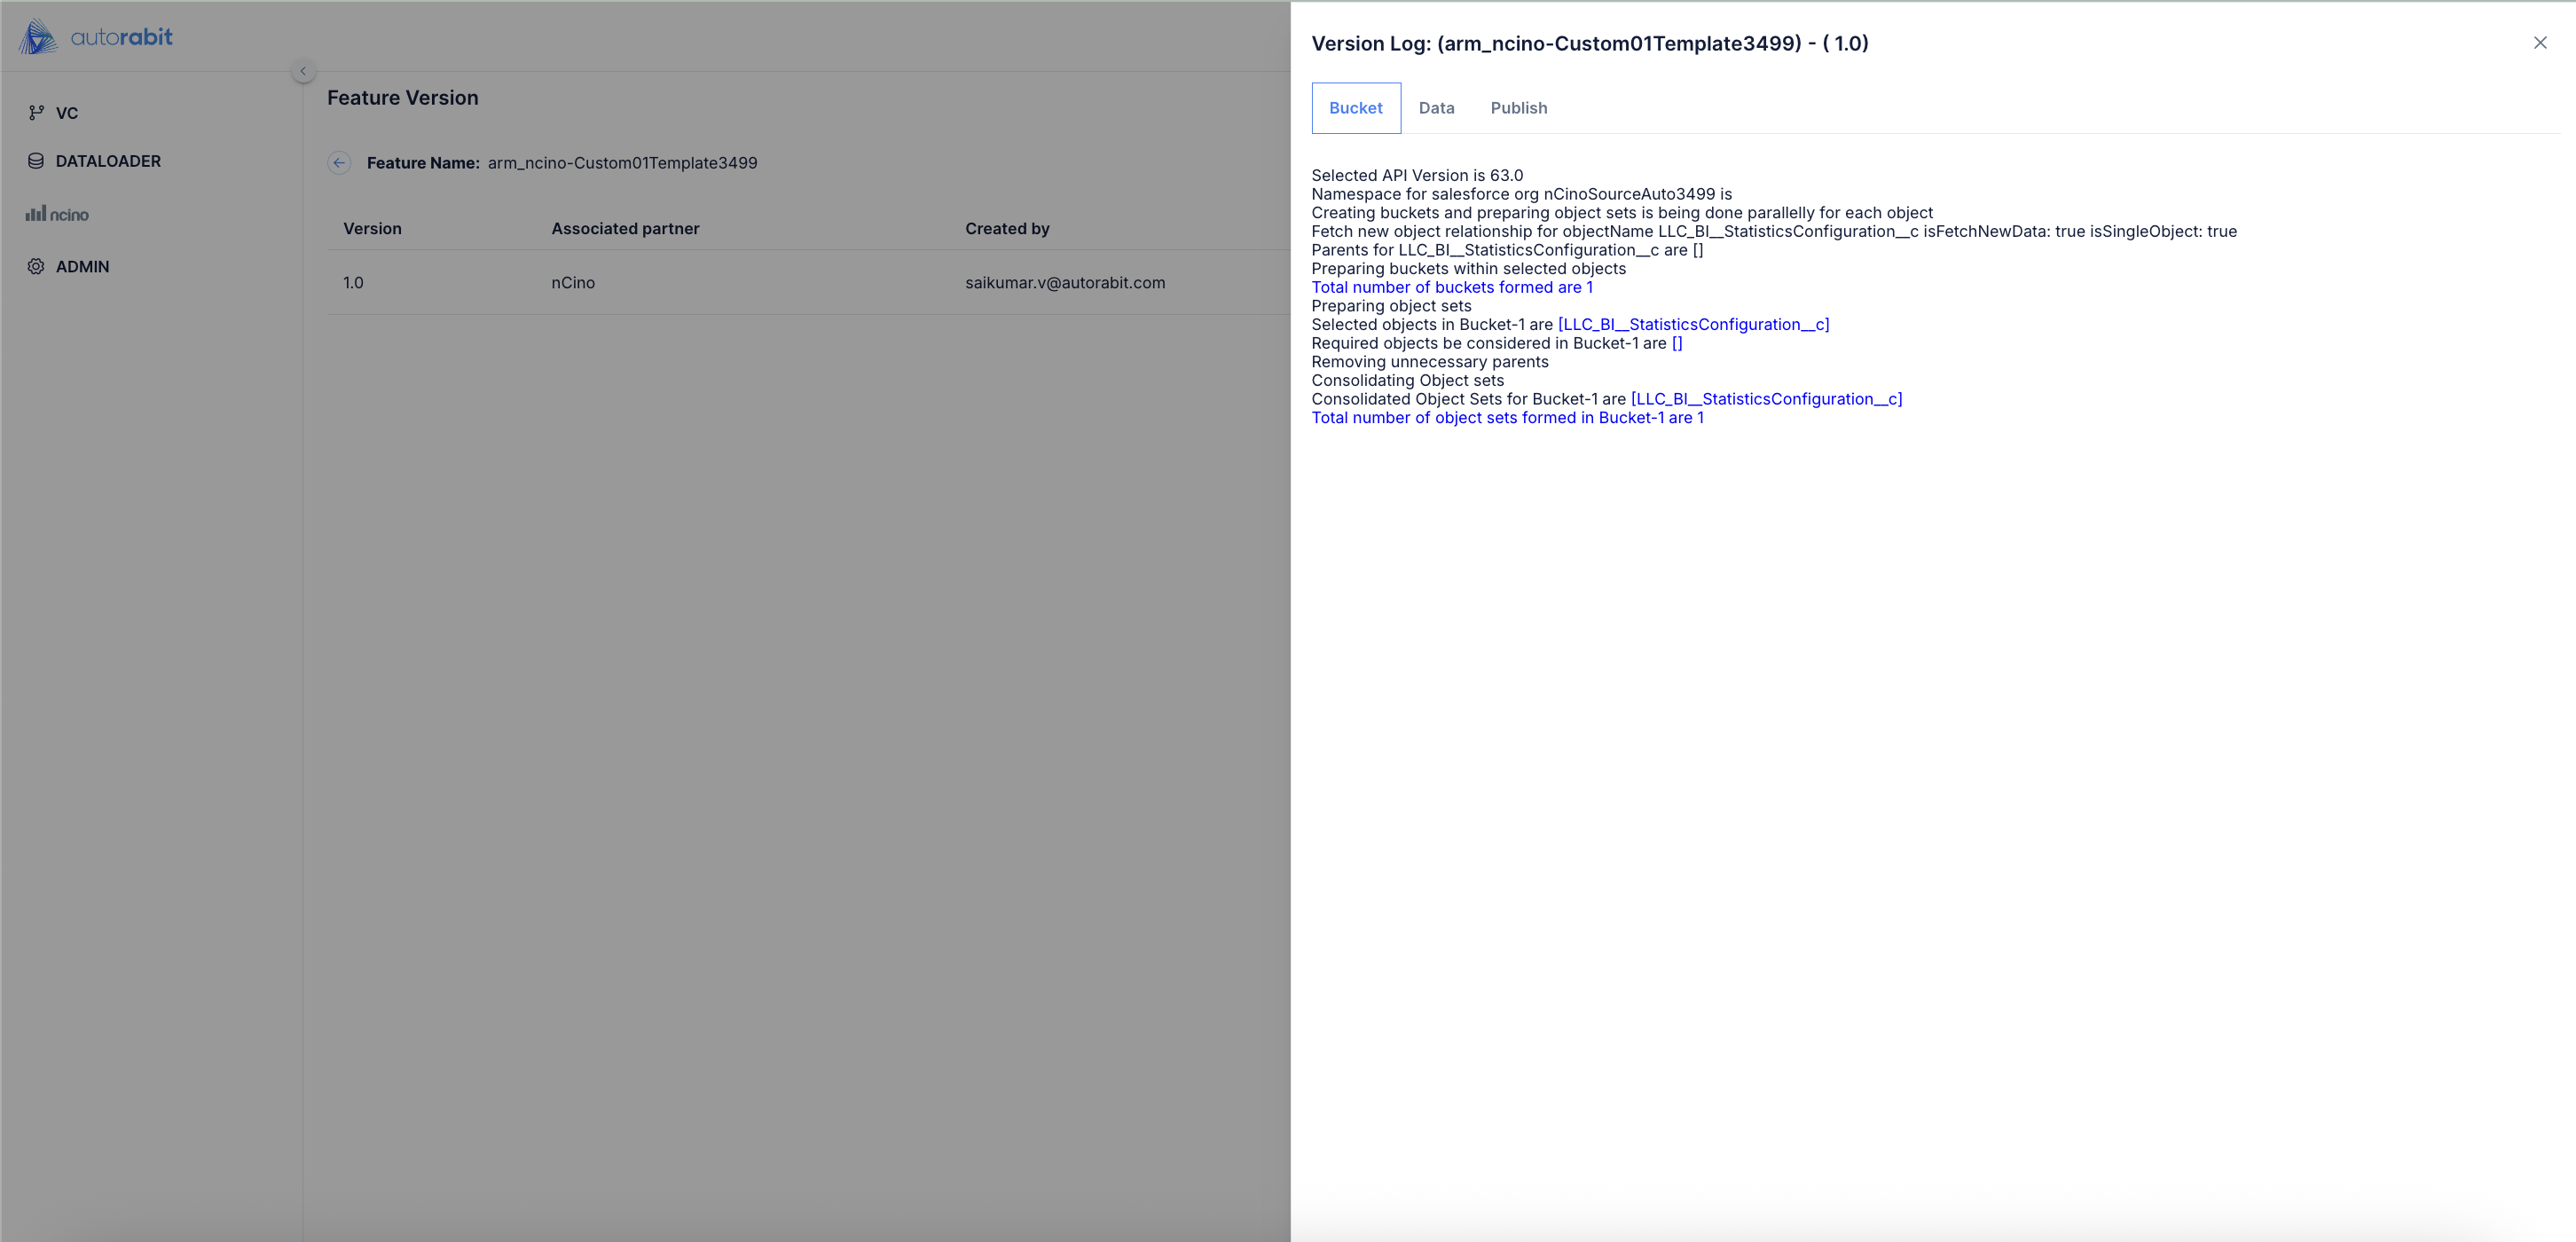
16. **Version Log**: Version Log maintains records of all notable changes made to the template. This contains three tables: Bucket, Data, and Publish.
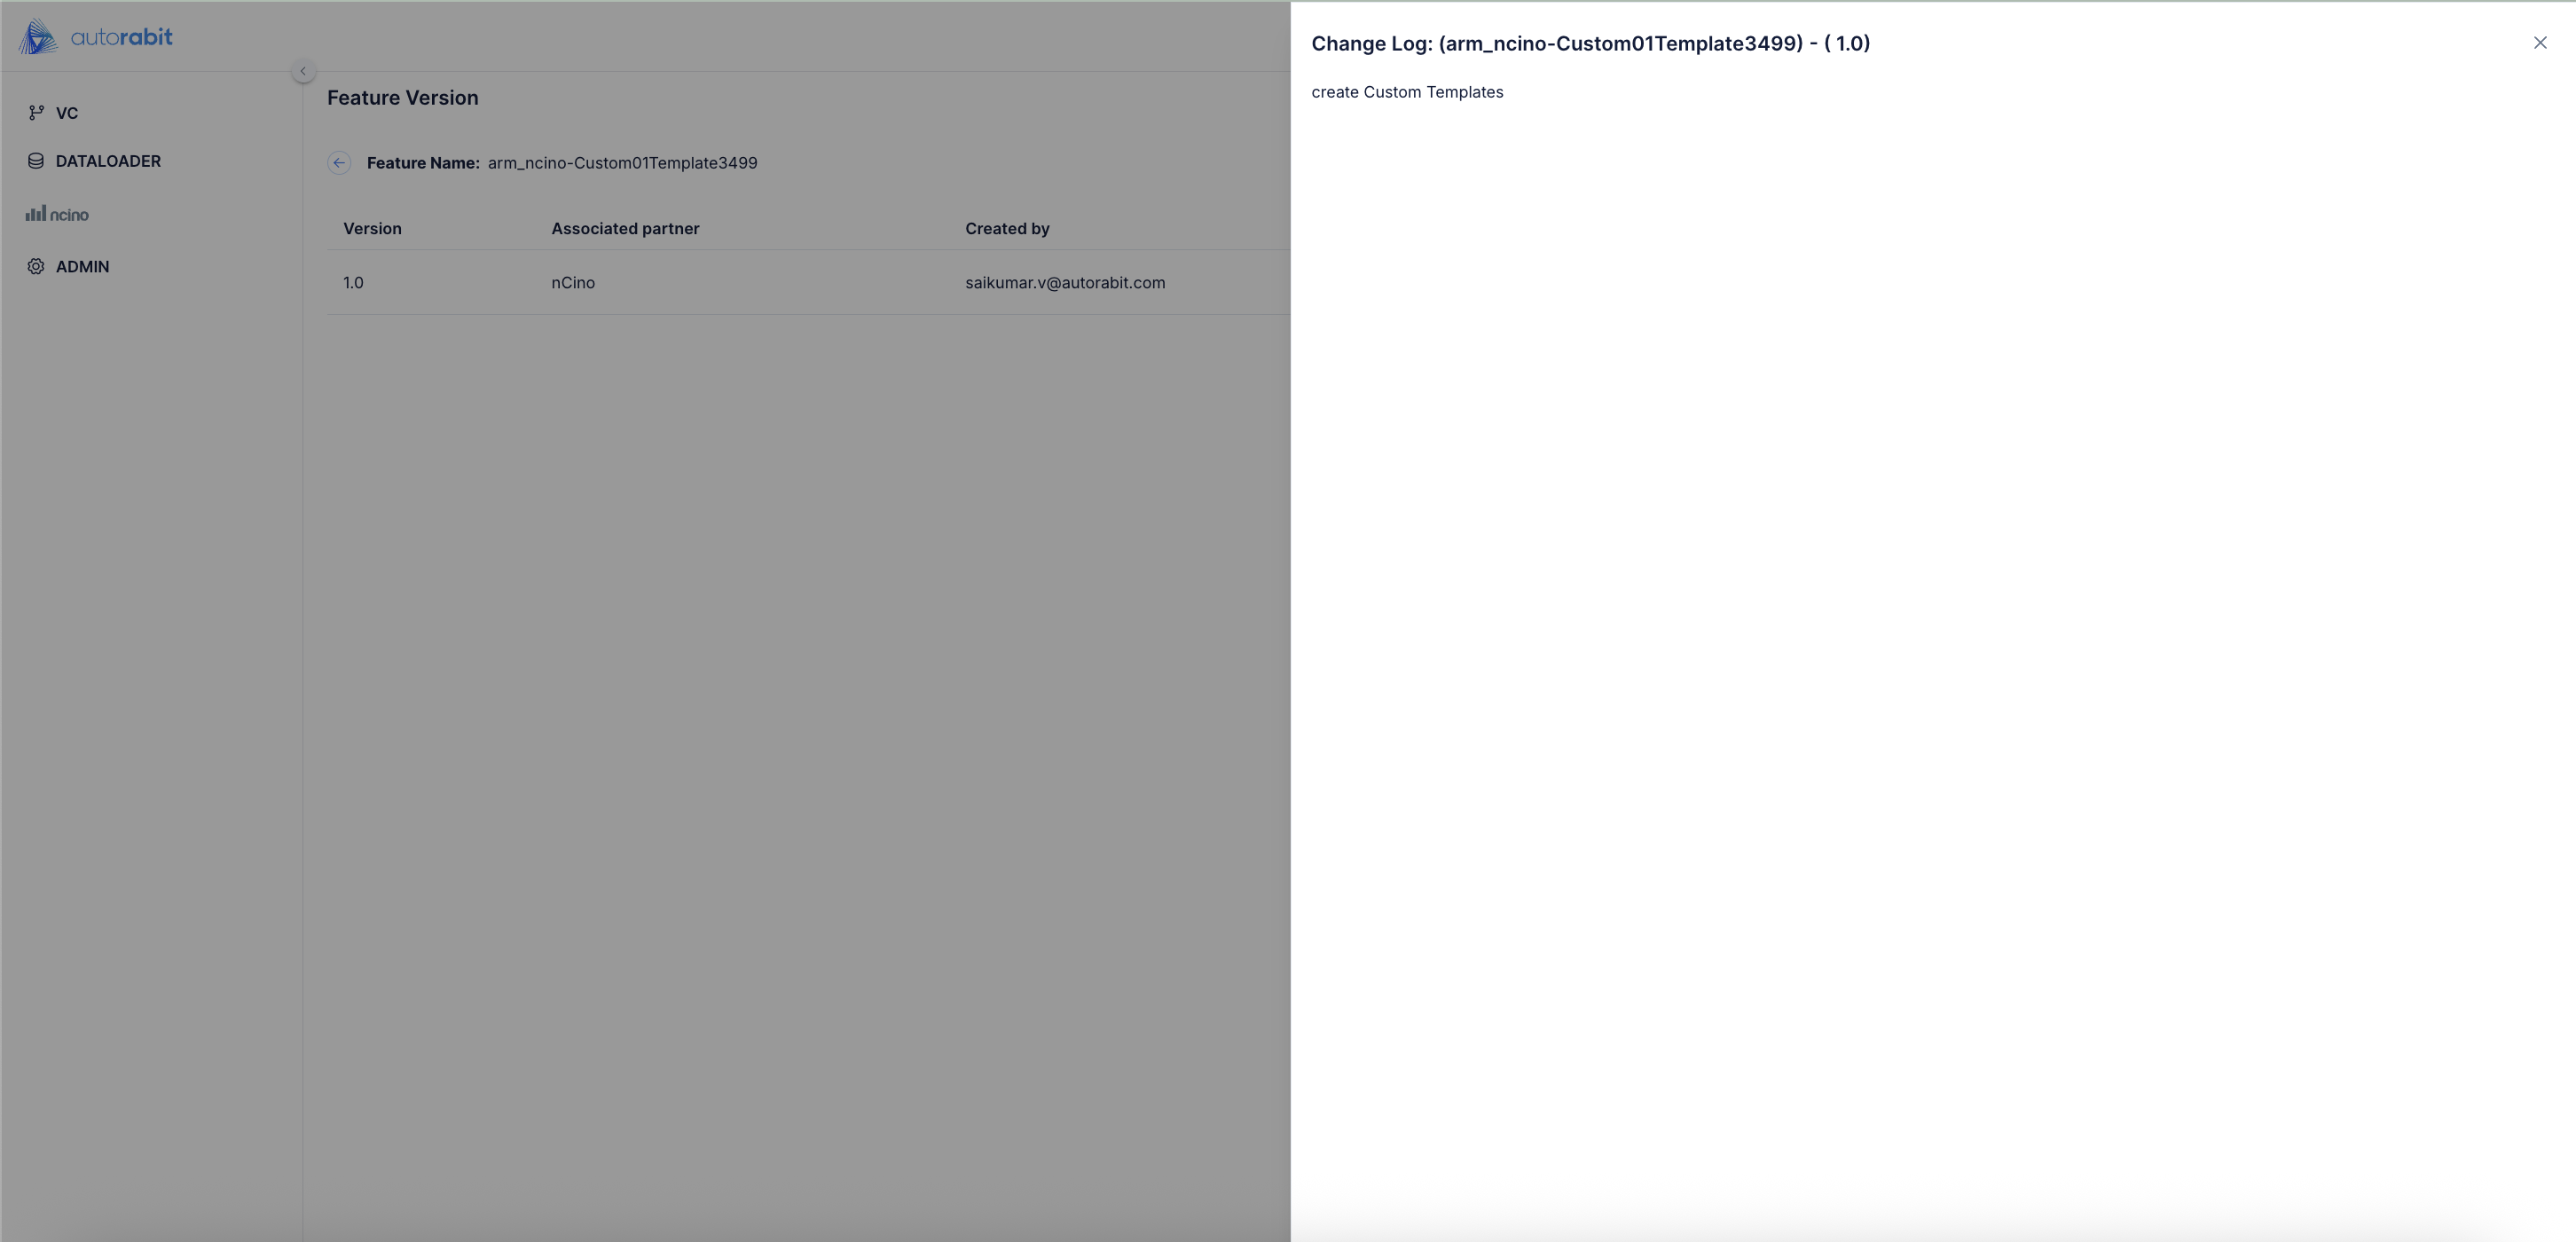
16. **Change Log:** Documents the change log data for each version.
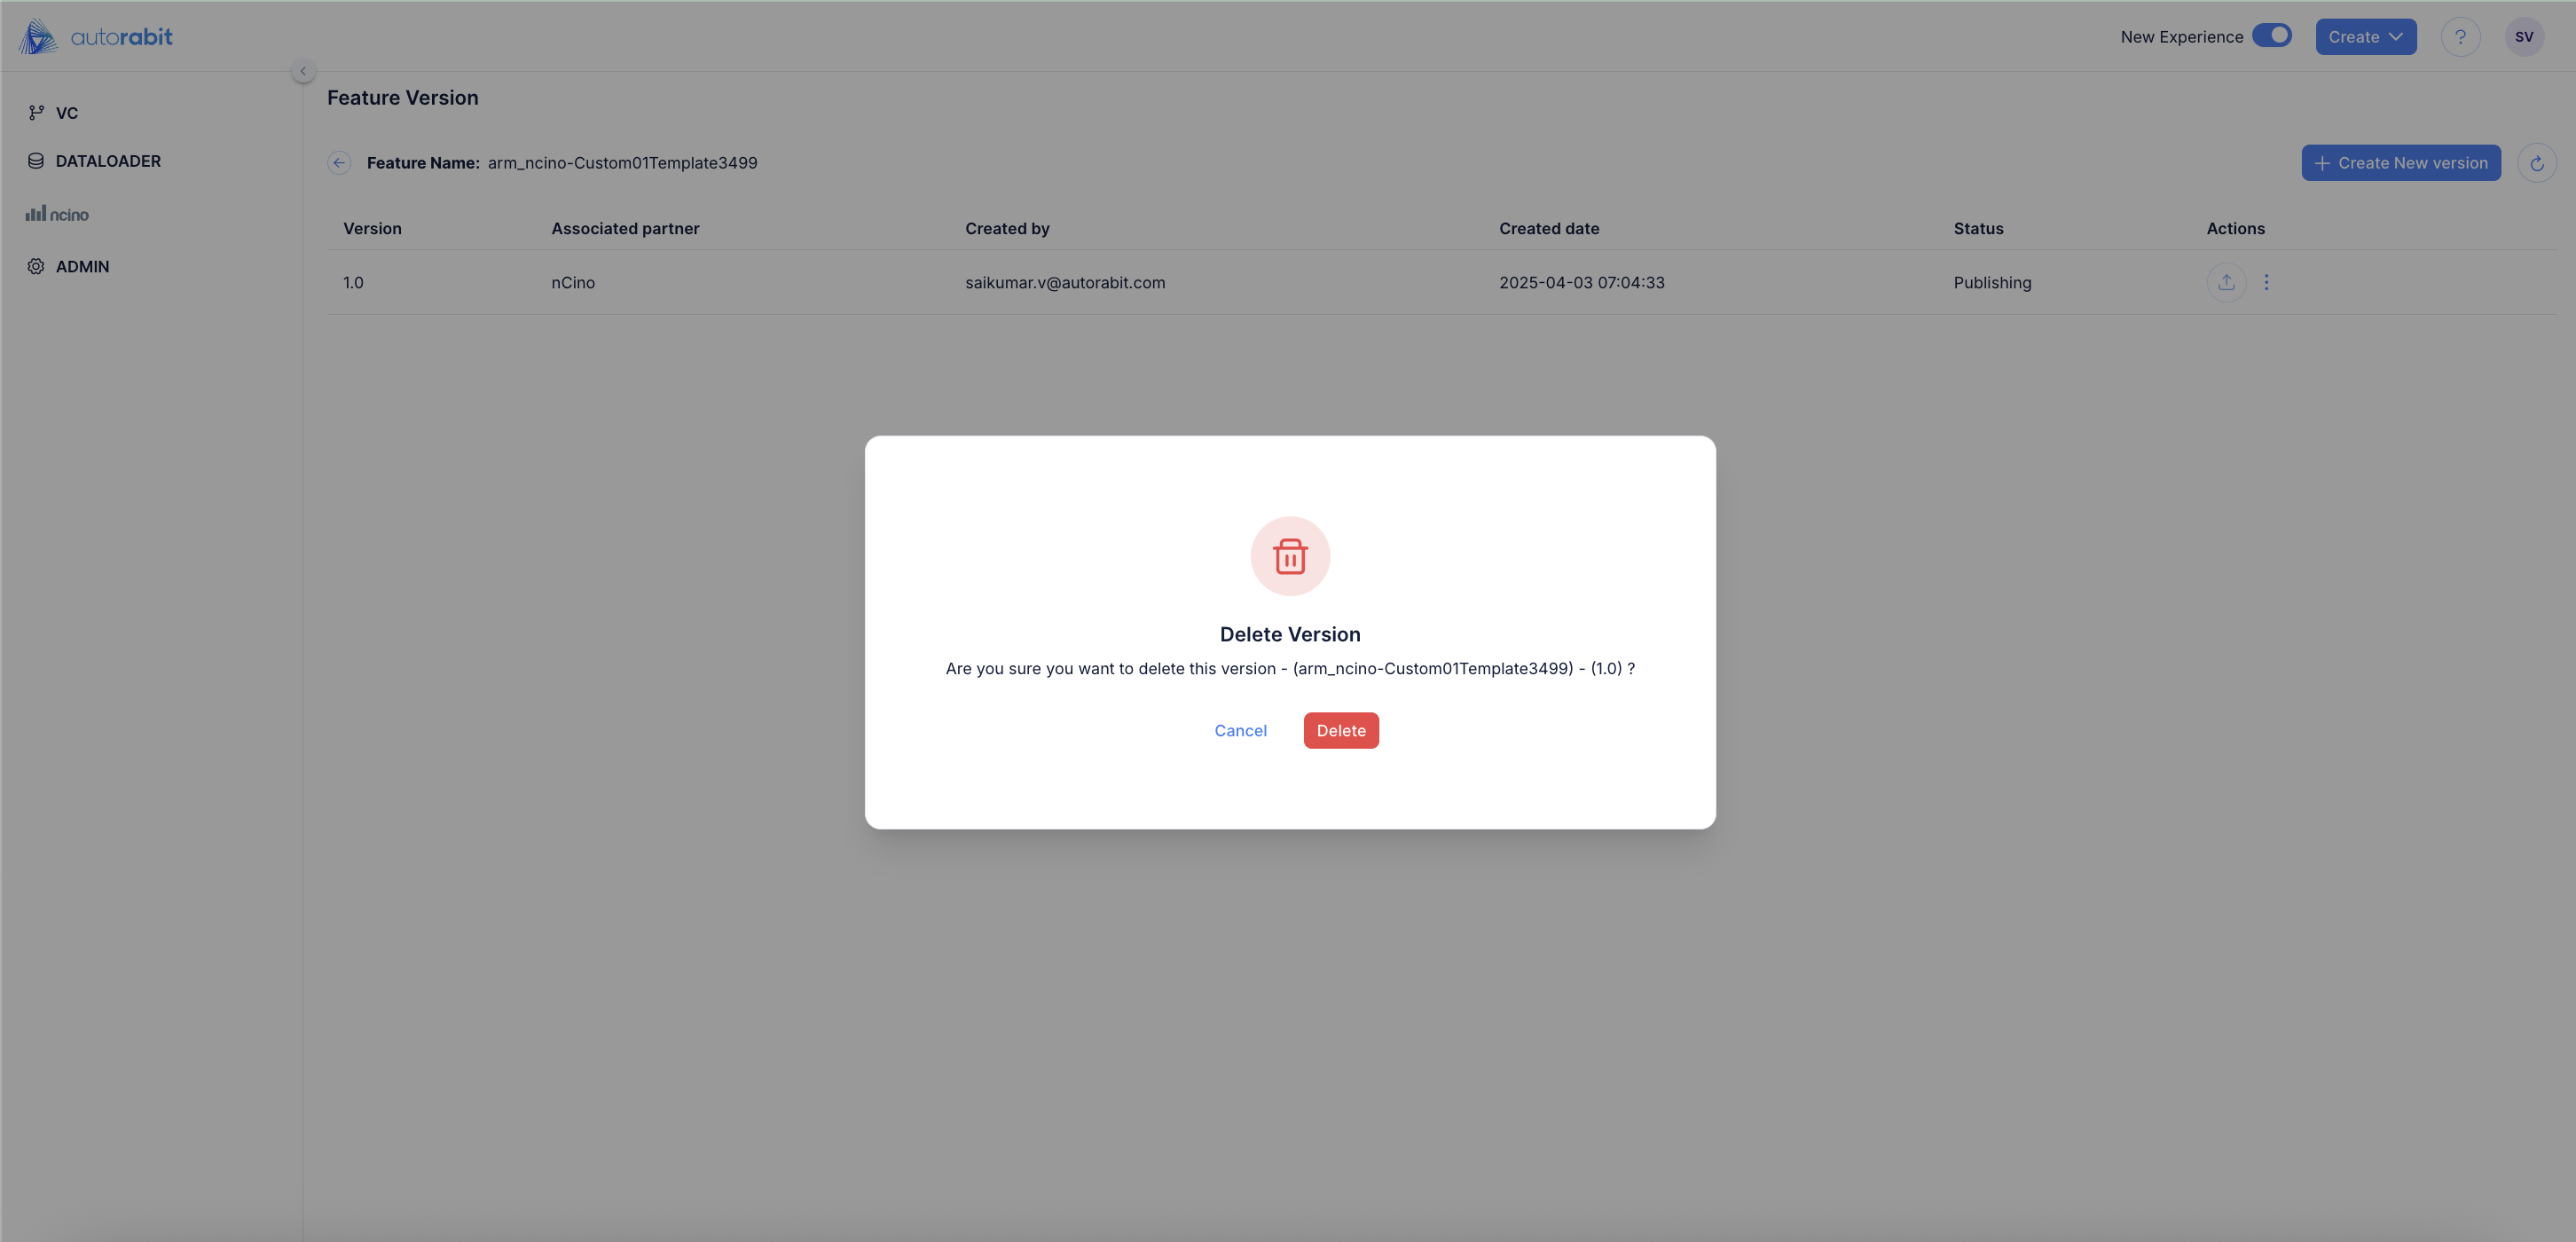
16. **Delete Template:** Use this option to delete the template. Caution: this process cannot be undone.
---
# Agent Instructions
This documentation is published with GitBook. GitBook is the documentation platform designed so that both humans and AI agents can read, navigate, and reason over technical content effectively. Learn more at gitbook.com.
## Querying This Documentation
If you need additional information that is not directly available in this page, you can query the documentation by asking a question.
Perform an HTTP GET request on the following URL with the `ask` and `goal` query parameters:
```
GET https://knowledgebase.autorabit.com/product-guides/arm-1/arm-features/ncino/feature-migration/feature-migration-summary-page-1.md?ask=&goal=
```
`ask` is the immediate question: it should be specific, self-contained, and written in natural language.
`goal` is what the user is ultimately trying to achieve, the reason they need the answer. Sharing it helps GitBook give you a better, more relevant answer. A goal is most helpful when it describes the outcome the user wants rather than restating the question. For example, with `ask=how do I create an API token`, a goal like `automate deployments from our CI pipeline` lets GitBook tailor the answer to that use case.
The response will contain a direct answer to the question and relevant excerpts and sources from the documentation.
Use this mechanism when the answer is not explicitly present in the current page, you need clarification or additional context, or you want to retrieve related documentation sections.